
You were rushed.
You were distracted.
Your equipment failed.
You need to hand over a series of incredible images, but maybe you were faced with less-than-ideal exposure and a liberal amount of grain and noise. However it happened, you now have a problem to solve.
The mission is triage — what in the image can I salvage? Can I make this usable? Can I make this beautiful?
Ben Willmore, member of the Photoshop Hall of Fame and a life-saving lifeguard in Lightroom photo editing, shows us how to save and improve a photograph in just six steps:
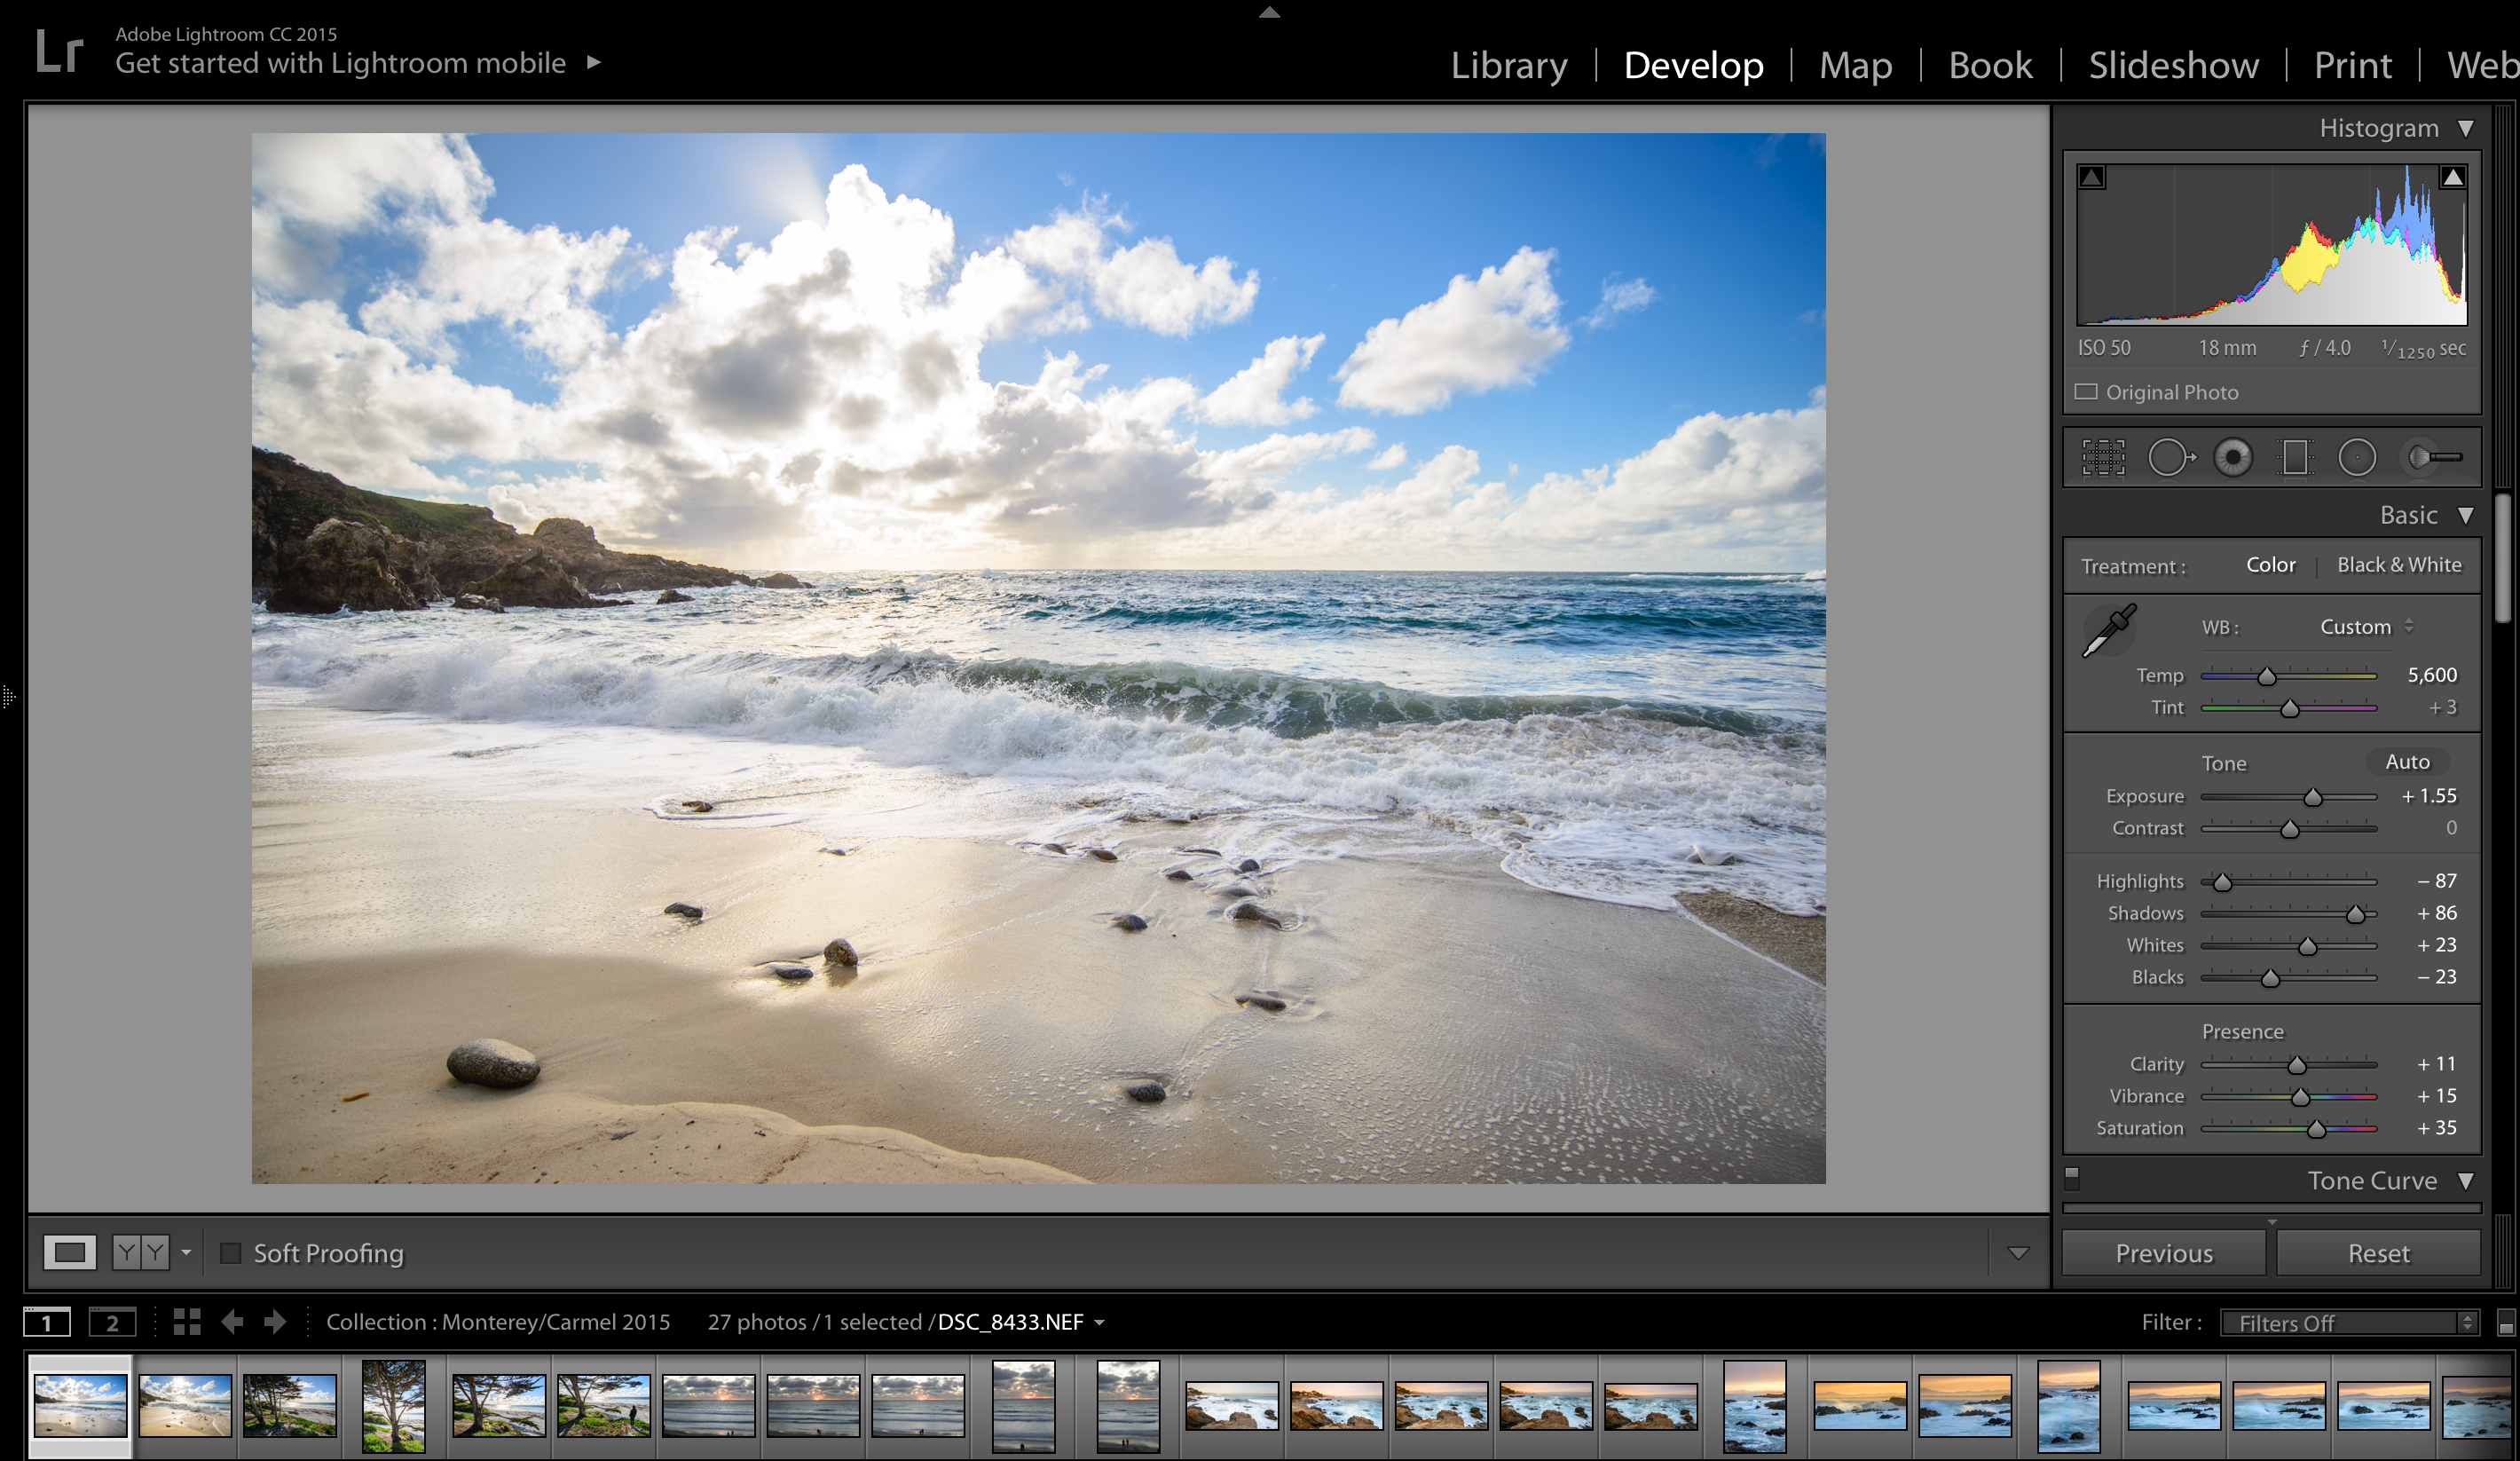
1. Start with easy fixes.
Before diving into any manual changes, check to see if the “Auto” button in your basic panel helps the image exposure. This will stretch out and fill in the histogram of the image, and can do a lot of your work upfront. Also boost shadows and increase clarity with the sliders on the panel.
While this may look better, zoom in to see if you have a lot of noise — that is, the grainy specs or clumps of specs that can cover an image. If you do, this will be your primary target for saving the photo.
2. Make sure sharpening won’t worsen the problem.
One of the most important steps in sharpening an image is making sure that you don’t ruin the image by sharpening the noise in the photo. Sharpening tools only help when there is true, engaging detail in the photo to sharpen.
Using the masking slider, adjust your settings so that only the areas with true detail (such as bricks in a wall or trees in a foreground) are set for sharpening, rather than any areas that are dull and flat with no useable detail (distant buildings in the shade, a hazy blue sky).
To do this, hold down the “Option” key (Alt in Windows) and click on the masking slider. This shows where the photo will be sharpened in white and gradients of grey, while areas of the photo that will be “masked” — that is, areas where the sharpening tool won’t be applied — will be in black and dark grey. If the slider is all the way down, the whole image will appear white, meaning that the entire image will be sharpened. Again, don’t sharpen the entire image if there is noise, as it will only emphasize the graininess of the photo.
Move the masking slider, identifying the level where the usable detail in the image is white or light grey, but the areas that you know to be dull, flat, and grainy are black or dark grey. This will allow you to sharpen the detail you want but keep spots with noise smooth.
3. Reduce noise before sharpening.
You’ll find two kinds of noise reduction in Lightroom’s photo editor: adjusting luminance, which reduces one type of noise (specs of different brightness), and adjusting color, which reduces another type of noise (specs of different colors that look like Christmas tree lights).
To summarize reducing noise in an image: Find the lowest setting for detail that does the most good for reducing noise with high luminance. Then preserve as much usable detail with the highest detail setting that keeps it smooth and doesn’t mess up the image. Then, find the lowest color setting that combines them together and stop when you don’t see any useful improvement. You can see the original image and compare before/after shots by turning the detail checkbox off.
4. Sharpen the image.
Now that you’ve reduced the noise in your image, go back to your sharpening panel to see if you need to change anything. Check for the usable details in your photo, hit the Option key, and click the masking slider to ensure those areas are white/grey. Note that you may want certain textures to not be sharpened (for example, you may want to keep the skin in a close-up portrait smooth), so keep those areas dark with the masking slider.
When you sharpen an image, Lightroom looks for where bright and dark areas touch, considers that a “detail” and will darken the darker shade and brighten the lighter shade to make the difference more obvious. The amount slider controls how much of a boost the sharpening will get while the radius slider controls how much space (the pixel width of the edge between light and dark) is sharpened. While a high amount of sharpening will also exaggerate noise, a high radius and low amount will accentuate the texture of the subject and not as much the noise.
The detail slider will also augment the texture of an image, with the higher settings sharpening the subtle variations in the photo (good for images with a lot of texture) and the lower settings only making the edges of objects defined (good for blurry or low detail photos).
5. Sharpen for your output.
To sharpen your images effectively, you have to sharpen twice: once to compensate for the camera and once to compensate for output devices which soften an image, such as a printer or saving a digital compressed file. Zoom in to 100% view to make sure the image is sharp, but without noise, and check your export presets. The export presets should have selected the kind of output sharpening needed (for the screen or matte or glossy paper) as well as the preferred amount of sharpening. This also applies to any image that you are also editing with other programs — mask, reduce noise, and sharpen with Lightroom first; edit in Photoshop second; and then return to Lightroom photo editor to sharpen for output.
6. Don’t forget to export!
Changes made to a JPEG file in Lightroom aren’t permanently applied to the image until you export, so don’t omit this last step and waste your work. Read more information on why you should use Lightroom vs Photoshop for these types of tasks.


