It is finally time to deck those halls and blast Wham’s “Last Christmas” 24/7!!! I love this time of year and relish the opportunity to decorate every. square. inch. of my place in holiday cheer.
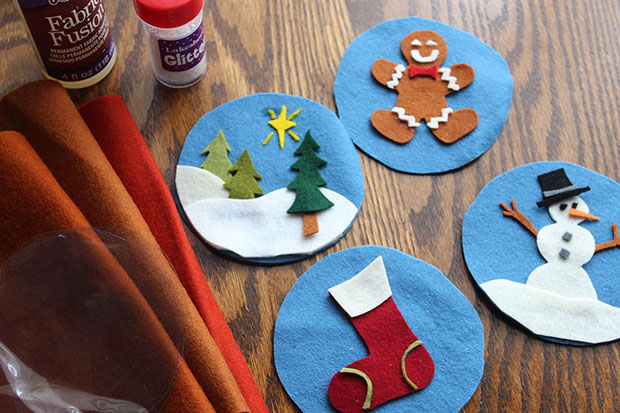
Making a set of no-sew snow globe coasters is a fun project for similarly enthusiastic holiday crafters. All you need is an assortment of wool felt, a swatch of clear vinyl, scissors, glue and glitter- oh and about two viewings of Elf– which makes this a totally doable and enjoyable homemade hostess gift or stocking stuffer.
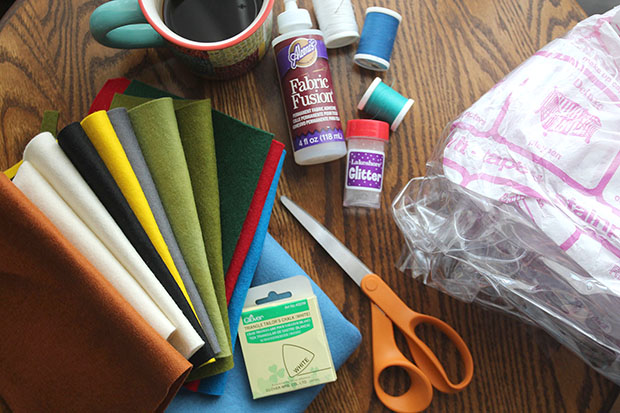
Materials needed:
Two 8 x 12 pieces of blue wool felt
One 8 x 12 piece of wool felt in: black, white, dark and light green, red, light and dark brown and orange and gray scraps (to make the snow globes shown in this tutorial) (Purl Soho has a great selection of color bundles by the way)
Tailors chalk
Sharp scissors
Fabric glue
Toothpick White glitter
Large, (preferably wide-based) mug
Optional: Hot glue and hot glue gun, needle, thread, embroidery floss, ribbon, rick-rack, etc.
Begin by placing your fat-bottom mug on the blue felt. Use chalk to trace around the mug, then cut out the circle with your sharp scissors. If you don’t have a wide mug, use a small bowl or CD. Your blue felt circles should be roughly 4.5-5 inches across.
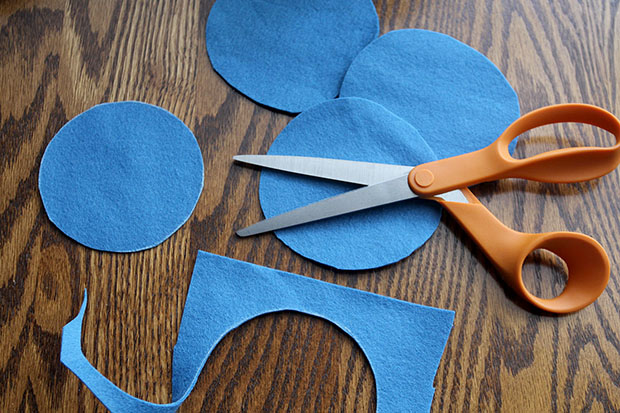
After you’ve cut one circle from the felt, use it to make three more of the same size.
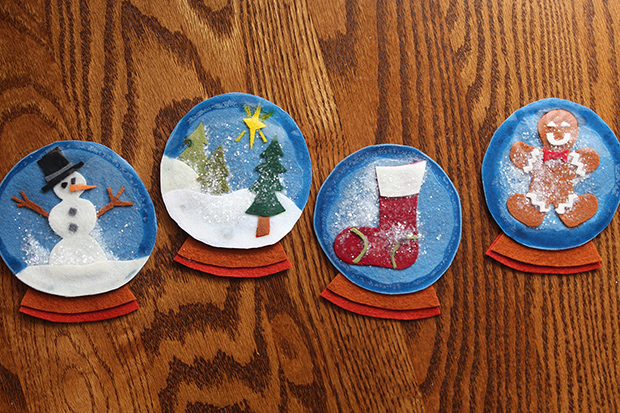
Use the blue felt circles as the base of your snow globe designs, and begin cutting basic shapes from your colorful felt to create stockings, snowmen, fir trees, gingerbread men or try your hand at candy canes, gifts, reindeer and other seasonal icons.
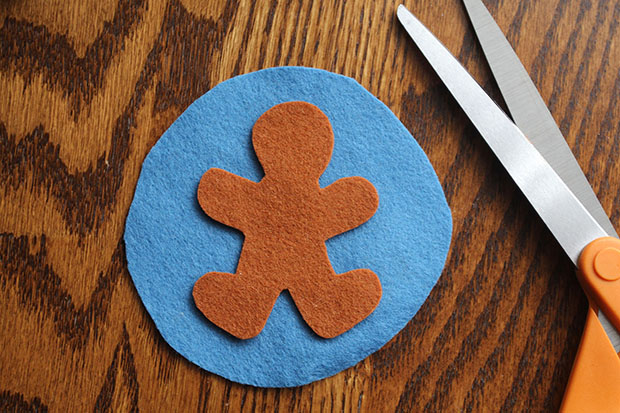
(This is an excellent project for using felt scraps you may have left over from previous projects.)
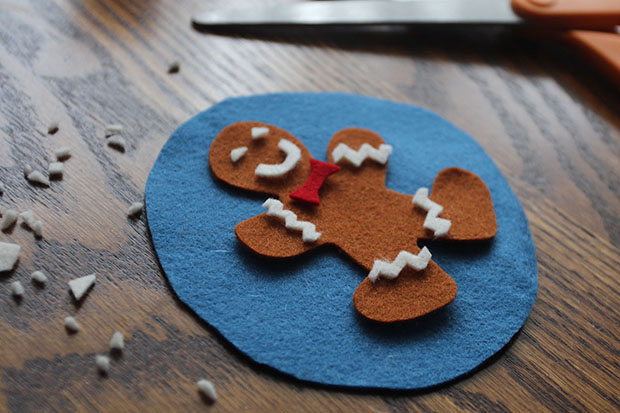
Use the fabric glue to secure the felt pieces as you work. (Toothpicks are handy for gluing small details down.)
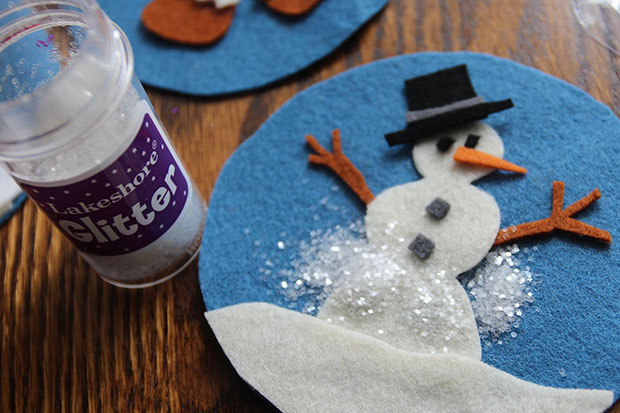
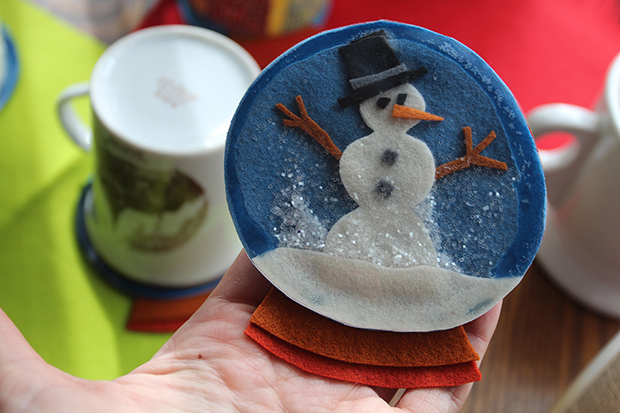
Allow the characters to dry completely. Add a small amount of white glitter to the center of your felt design and with your fabric glue, draw a thin (but solid) line of glue around the perimeter of the blue circle. Cut four pieces of clear, 4.5-inch vinyl. (Or whatever size is larger than your felt snow globe characters and circles) Then, gently press the vinyl onto the felt and glitter layers. Use your mug to weigh the vinyl layer down as the glue dries.
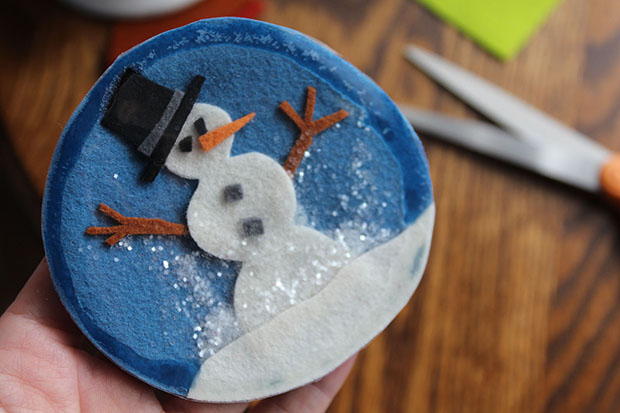
Use your scissors to trim the vinyl down so that the thinnest visible line of glue is showing through your snow globe, and so that the globe shape itself looks polished and uniform.
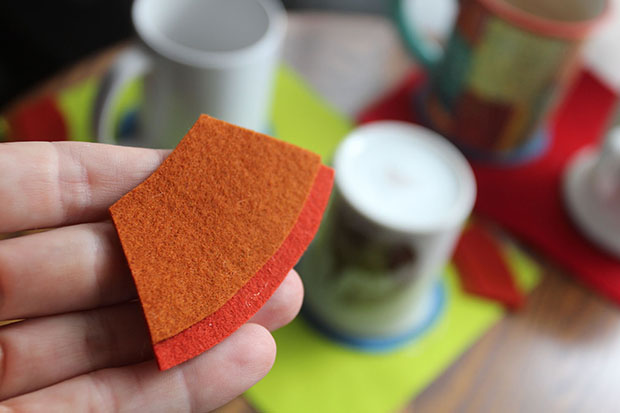
Use brown felt scraps to create a small snow globe base. Glue the brown felt base to the backside of the snow globe design and allow everything to dry completely.
When your set of snow globe coasters is complete, sit back and admire your work as you pour yourself a warm winter beverage.
Note that your creations may be so ridiculously cute that you end up wanting to hot glue ribbon or twine loops to the top/back side of the globes to turn them into tree ornaments.
Are you ready to start selling your handmade craft projects?
Download our free PDF: Etsy 101: A Guide to Getting Started! This comprehensive collection of notes, worksheets, and slides from Marlo Miyashiro’s class, Etsy 101: Launch Your Handmade Shop gives you the tips and insights you need to launch a successful Etsy shop!
[subscribe2download link=’http://blog.creativelive.com/wp-content/uploads/2015/10/Marlo-Miyashiro-Etsy-101-Class-Workbook.pdf’ title=’Enter Your Email Download the Guide’ source=’Etsy-101-Guide’ type=’Download’ channel=’Craft & Maker’]
< >
>
[/subscribe2download]