If you spent time at summer camp as a child, you might have learned to make a diamond-shaped yarn craft called a “God’s Eye.”
It is a simple yarn craft that can be dressed up for more sophisticated projects now that you are grown up. (A quick Pinterest search will reveal a whole world of possibilities!)
Los Angeles-based designer, maker, and CreativeLive instructor Robert Mahar, makes a God’s Eye that goes beyond the traditional cross, adding in six spokes that give it a neater appearance. In just a few steps, you can put together a colorful art piece that will complement any décor.
Here are the supplies you’ll need to get started:
Six 6” dowels
Two wood rounds
Ruler
Craft knife
Glue gun
Two skeins of yarn in desired colors
Once you’ve collected your supplies, follow Robert’s step-by-step guide to put together a beautiful God’s Eye using the thread colors you’ve chosen.
Step 1: Cut your dowel into six pieces that are six inches in length. Using a craft knife, cut shallow wedges at one-inch intervals along each piece of dowel. This will help keep the yarn in place. Create a score line exactly one inch from the end of each dowel all the way around.
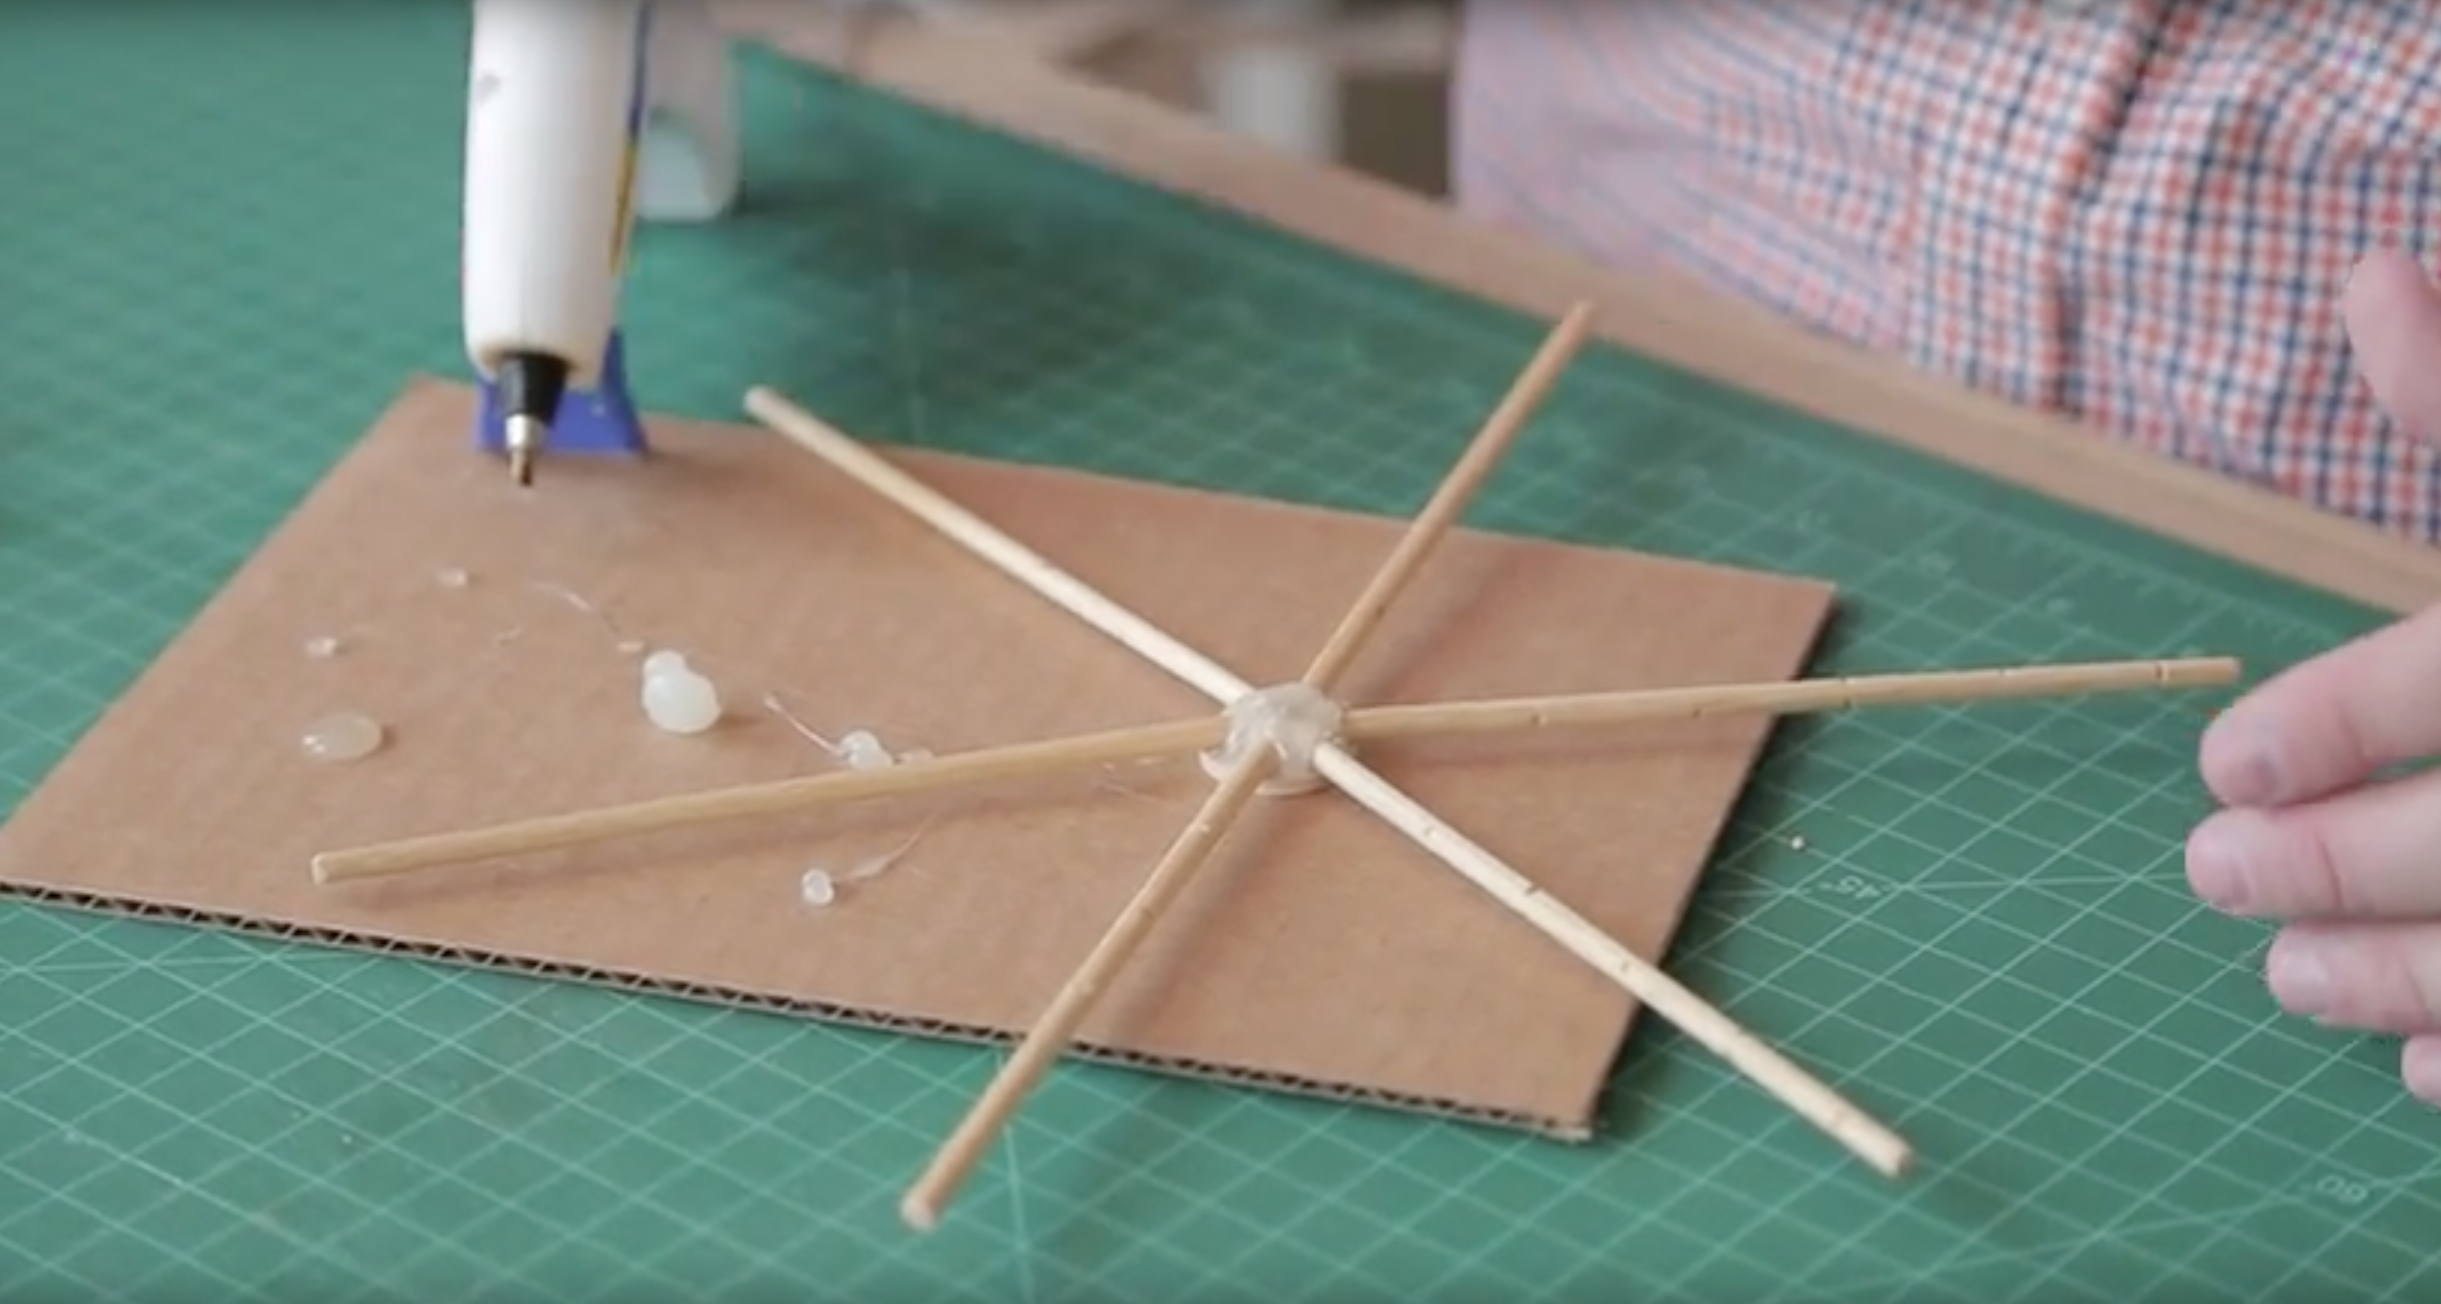
Step 2: Place two dots of glue directly across from one another on the wood round. Place the non-scored end of the dowels on the glue parallel to each other, leaving approximately ¼ inch between the glued ends. This will put the scored side on the outside of the God’s Eye when complete.
Step 3: To create a wheel-like structure, place four glue dots on the round, two at a time. Position the other four dowels equally distant from each other with the notched sides out. The finished product will have six dowels equally jutting out from the round like spokes. For additional stability, use the hot glue gun to fill in spaces. Place a second wood round on top of the other round, sandwiching the dowels between them.
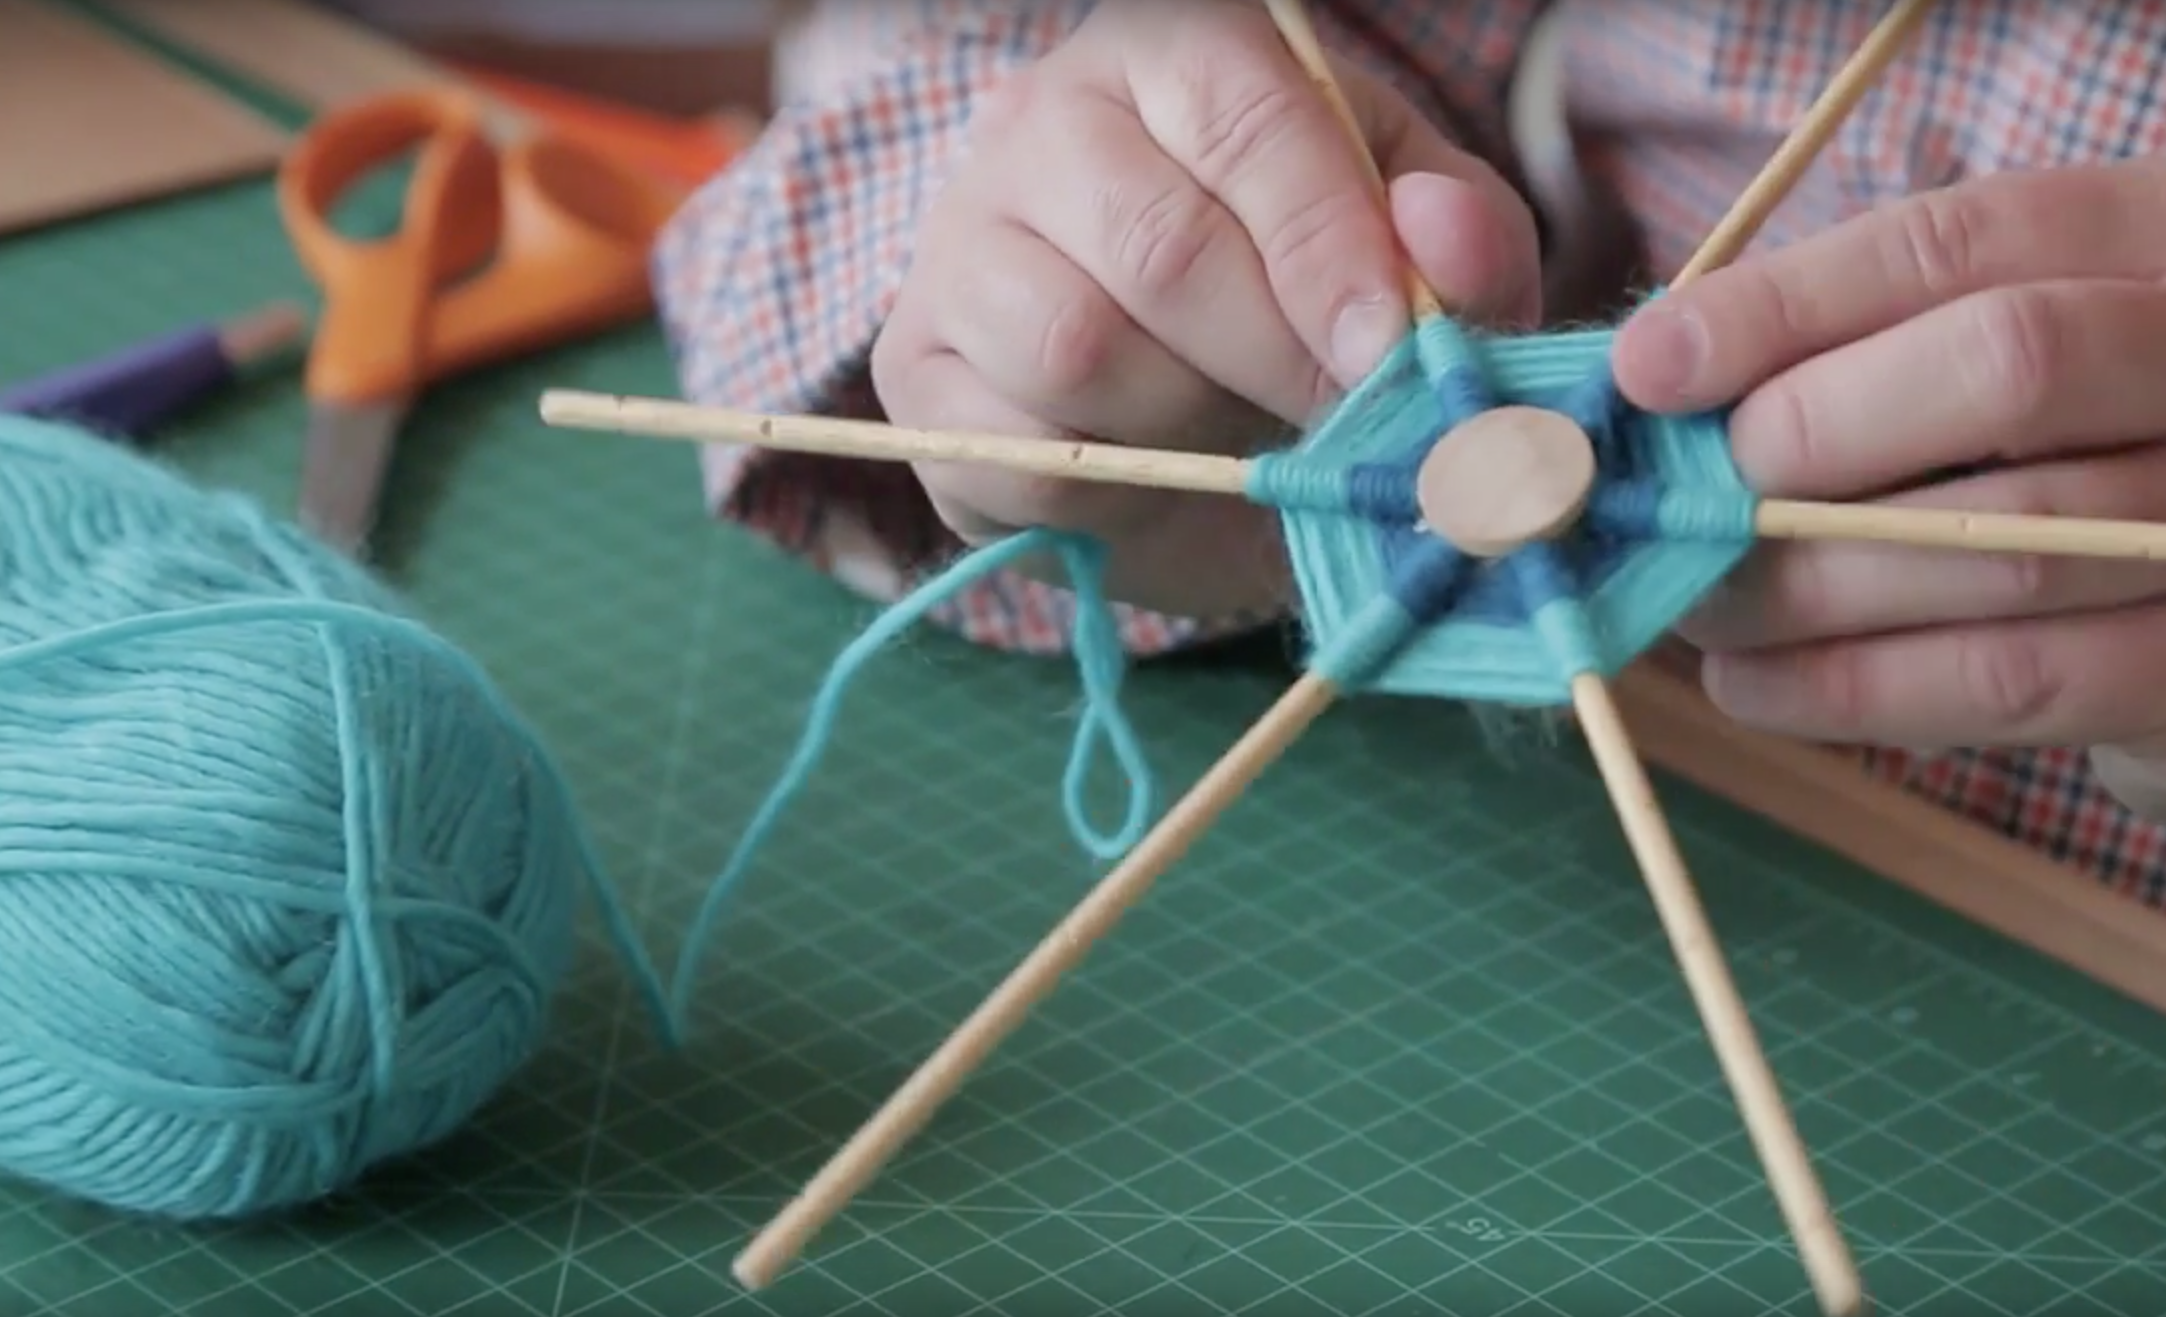
Step 4: Choose one color of yarn and tie a tight knot around one of the spokes at the end closest to the wood round. Go underneath the adjacent dowel, wrapping around the spoke before moving to the next spoke. Keep wrapping all the way around, moving away from the center.
Step 5: To add a second color of yarn, stop at the point where you’d like the colors to alternate. Snip the yarn, leaving a couple of inches of “tail” on the yarn and align the second color of yarn to that tail. Tie a knot in the two yarns and begin the wrapping process with the new color of yarn. Once the new color is established, you can cut the excess tail from the knot you created. Keep alternating until you reach the one-inch notch you created at the beginning.
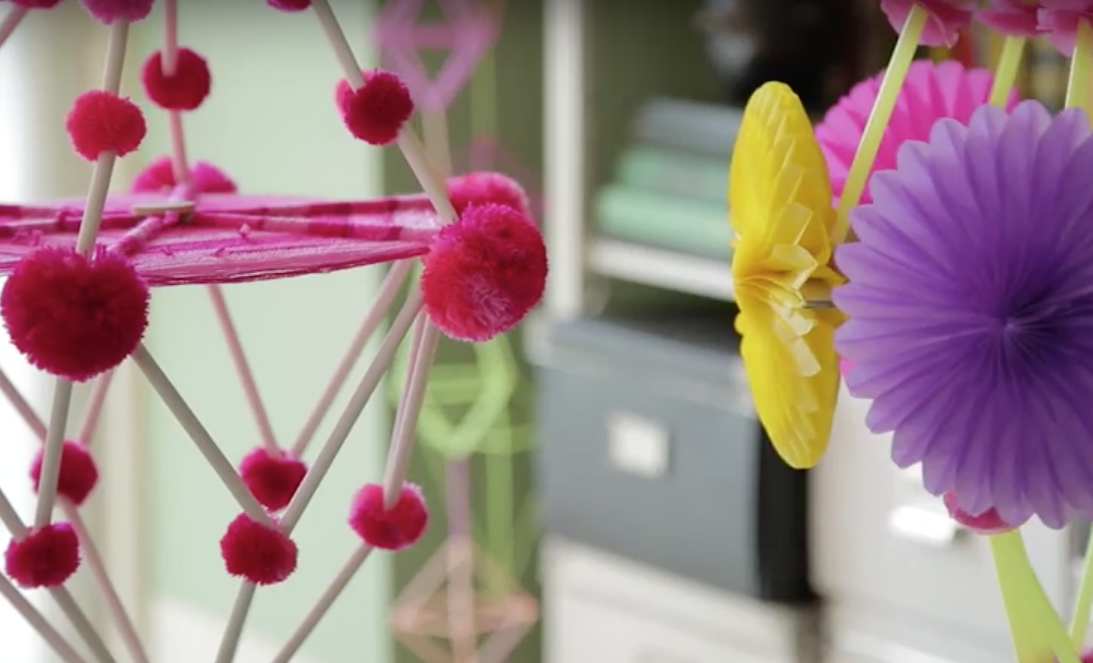
Once you’ve finished your God’s Eye, you can ornament it at the end with pom-poms or you can use it in a pajaki chandelier.
Watch the step-by-step demonstration and get even more tips in the video below:
Robert teaches you how to incorporate your grown-up God’s Eye into a pajaki chandelier in this class on CreativeLive. Be sure to upload images of your own God’s Eye and chandelier in the student work gallery.