
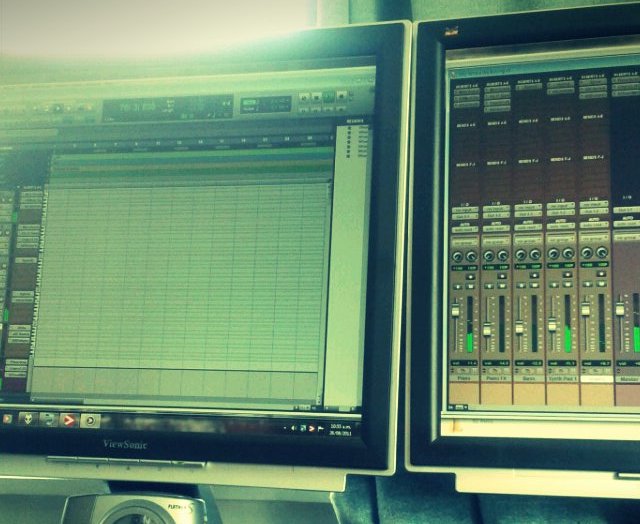
I remember back in the day when it was almost a crime to even suggest mixing “inside the box.” Pro Tools and other DAWs came on the scene with more efficient workflows, digital offline editing and signal processing that offered engineers and producers an infinite array of options in the studio. However, the summing mixer was seldom trusted.
Most engineers I knew still relied on the summing amps, op amps and signal paths of their favorite analog desks, even if all the faders were set at unity and automation was still done in the box. The algorithms used to calculate all those zeros and ones into a final mix just couldn’t be trusted. I remember taping down a row of faders on our Otari 96 channel console at my studio at the time, to make sure no unintended changes were made. We never touched the console after we set up the mix, but it still served its purpose.
Since then, there have been a variety of options to more efficiently provide these discrete signal paths, with rack-mount units and line-level desk with monitor paths, used only to solve this one problem: providing the ‘sonic glue’ to bring all of these separately recorded tracks together. First, a bit of loosely told history.
The first studio recordings were done live, cut directly to into wax on a ceramic disc. The engineers job was basically to position the one microphone in the room as such to balance the instruments as much as possible, keep the needle on the meter from going into the red and making sure the disc was being cut properly.
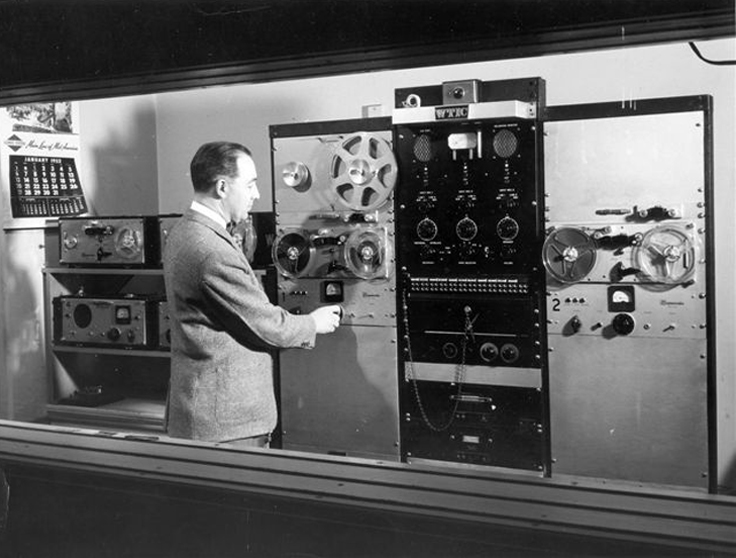
After WWII, magnetic tape started to become more and more common as a medium for audio recording (thanks in many parts to Bing Crosby) and suddenly the idea of editing and rearranging of prerecorded material became a reality, along with recording more than one signal at the same time. While stereo (2-track) recording had been done before tape, none of it was ever commercially released. Stereo tape recording became the norm throughout the 1940s and this led Les Paul to take the same concept and expand it, building an 8 track tape recorder with Ampex.
The rest of the world didn’t quite move as fast, however, and Ampex released a commercial 3 track, and subsequently a four track tape recorder, allowing studios everywhere to get into the business of overdubs. This required reserving one open track for ‘bouncing,’ or recording a live overdub with a recorded overdub onto a new track, mixing them together, and freeing up the old track to use in the same fashion.
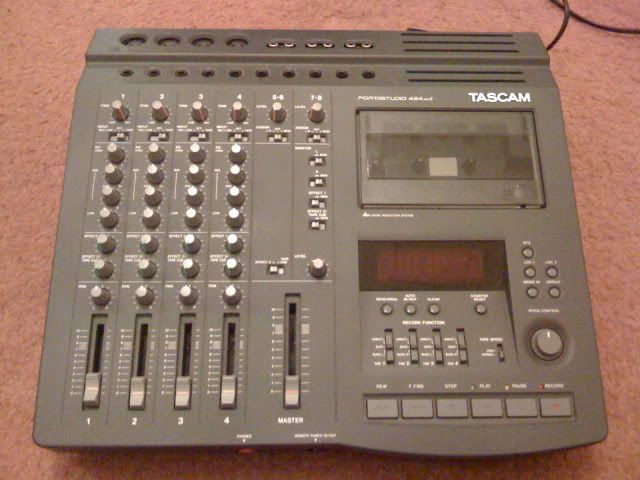
This process would go back and forth until the overdubs were done and they were blended back in with the stereo mix of the whole band during mixdown. This process became popular for decades for anyone using a 4 track cassette recorder in their parents basement (such as me).
As tape width grew (and eventually ADATs and DA88s replaced tape, and then DAWs replaced those), the term ‘bouncing’ took somewhat of a turn, as it was no longer technically necessary. Somehow, ‘bouncing to disk’ became a thing, even thought it’s technically just considered ‘mixdown.’ In any case, that’s the problem we’re stuck with today, and unless you have a 1/2” analog mix down deck (or God forbid you are mixing down to a DAT machine), you need to know what is happening when open up that bounce handler in your DAW.
Recording Internally
This was the option for many years, especially among those who didn’t trust Digidesign’s bounce handler. Instead of setting all of your tracks (or all of your buss masters) to the main mix and letting the software take care of the rest, you could route the tracks to an internal stereo track and simply record a stereo file of your mix. Keep in mind, at least in Pro Tools, the default is not to actually record an interleaved stereo WAV or AIFF file, but to record separate mono files for left and right.
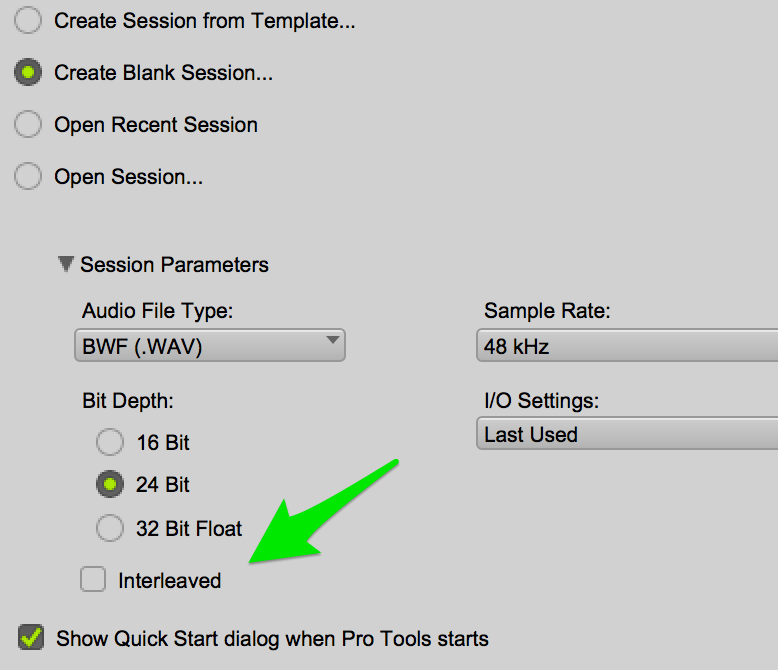
You can opt to have Pro Tools record all stereo files as a stereo interleaved audio file in the New Session Dialogue box simply by clicking “interleaved” under the sampling rate. Note that some engineers I have met have noticed a difference in the stereo field and separation when Pro Tools records audio files as interleaved versus mono separated. You can then simply find this new stereo file in the audio files folder and send it off to mastering. No bounce necessary!
Bounce to Disk
Pro Tools introduced offline bounce for the first time in Pro Tools 11, when previously a real-time bounce was the only option. I haven’t really been able to find any specific claim on behalf of Avid or Digidesign back then as to a superior mixdown when bouncing in real time, but that was always the assumption. Every other major DAW offers an offline bounce and has for some time. Still, there are options that can hypothetically alter the resulting mixdown.
Bit Depth
If you are bouncing down to a lower bit depth than you recorded the multitrack files at, this will definitely have an impact. There are plenty of resources online that talk about dither, but the basic concept is that digital information is stored in all of the bits within a digital sample. simply chopping off the last 8 bits will remove some information. Put VERY simply, dither is a process by which the information in those bits (the least signficiant bits) is moved down the chain to the front part of the digital word, leaving nothing but perfectly random 0s and 1s in its absence. Then, these can be removed. Still, there are some that prefer to simply chop these bits off and move on.
Sampling Rate
I’m going to claim something a bit controversial. Sampling Rate Conversion (SRC) does not have as much of an impact on your final mix as bit depth. Shocking, considering the obsession among hardware designers to push for 96kHz, 192 kHz (and even 328 kHz I saw recently). Without turning this post into a white paper on the Nyquist theorem, it’s important to note that most microphones, loudspeakers and even the human ear cannot transduce frequencies above 22 kHz.
While some sonic energy does exist above 22k on some acoustic instruments, sufficient anti-aliasing filters prevent these from leaking back into the program material and an improvement in clarity is hard to make a solid argument for. In short, don’t be afraid to SRC to 44.1 kHz. And what’s the deal with tweak head/better/best? I honestly have no idea (nor could I find anyone who did).
Offline Bounce
So what’s the sonic advantage of bouncing in real-time? Has the Pro Tools algorithm gotten better over time, so much so that offline bouncing now surpasses their standards for mix bounce clarity? That will be all of Part II, next week, when we compare a mix bounced through a number of scenarios (offline, online, analog, interleaved, mono summed) and look at the actual corresponding audio files to see if there’s a difference.
In the meantime, share your thoughts with us on our Facebook page!


