This post is a part of our Photoshop Basics series. For more expert tips, be sure to enroll in the largest online Photoshop and Lightroom conference on the year – creativeLIVE Photoshop Week 2014!
Photoshop is chock full of options — name an effect and there are probably three ways to create it. The multitude of menus and panels, not to mention the complexity of their particular tools, can be difficult for beginners to navigate. Luckily, there are a number of functions that help you cut through the noise and customize a configuration that fits your specific needs.
Preferences
Photoshop has an amazing preferences menu that allows you to customize like no other software. Take Transparency preferences for example; when working with Transparency, it can be difficult to see the white items you have created when using the default grid settings. The good news: it’s easy to change Preference settings to make those items stand out. To do this:
Go to Preferences/Transparency & Gamut.
“Grid Size” – Change the size of the squares within the transparency grid.
“Grid Colors” – Darken the existing grid or the color of the gray squares with the drop down field.
Click on the color swatches to change either color to the color of your choice.

In Preferences/File Handling make sure that “Save in Background” is checked. This allows you to keep working while Photoshop is saving your files rather than waiting until the save is completed.
Also in Preferences/File Handling set the “Automatically Save Recovery Information Every:” Checking this will have Photoshop save your work at whatever time interval you select from the drop down.
Menus
One of the strengths of Photoshop is its versatility; you can essentially build any custom menu with any collection of settings. To use to keep your workspace clean and tidy, it’s also possible to hide the menus that you do not want. Here’s how:
Go to Edit/Menus.
Then Application Menus.
Navigate to the Menu item you want to hide.
Uncheck the Visibility icon.
You can also do this with the Panel menus.
Workspaces
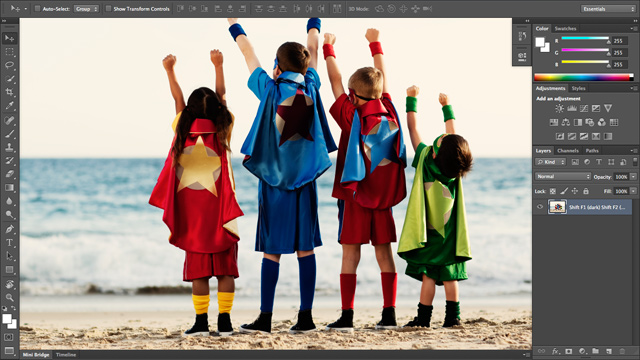
Photoshop can be used for a variety of different functions — everything from graphic design to painting with photographs. Each type of work requires the use of different panels, keyboard shortcuts, and menus. What’s great about Ps is that it gives you the ability to save multiple layout configurations, so you can switch between them as you work on different projects.
Navigate to Windows.
Check the panels to include in the workspace.
The panel will open either as a stand alone, connected to the minimized column or in the expanded column.

Click and hold the panel header to move the panel to a specific location. To dock it the panel to one of the bars move the panel until a blue line appears. Release the button and the panel will be docked.

To save the configuration, navigate to the Windows menu.
Click Workspace.
Click New Workspace

Enter the workspace name.
Click the check boxes to include modified keyboard shortcuts and hidden menus.

Setting up Photoshop to match your working style allows you to focus your energy and thoughts on creating rather than searching for specific items or tools.
Learn more from Dave Cross’ course Customizing Photoshop.