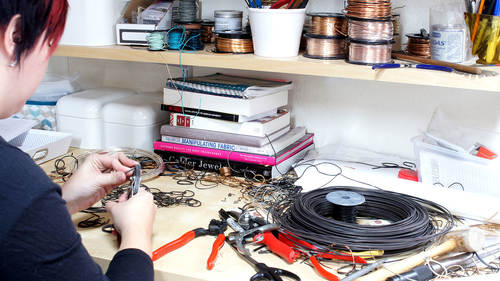
Growing up, my great aunt Marion was perhaps the craftiest adult I knew. When I was often asked where my artistic inclinations came from, I would immediately think of her.
She crafted all manner of items for church bazaars, from rag rugs made from recycled bread bags to crocheted toilet paper cozies (in which a doll would stand in the toilet paper tube and her oversized skirt hid the roll!) However, two of the most treasured handcrafted items I own are the crazy quilt and the crocheted afghan she made me as a child – both tangible reminders of how much she loved me.
When you miss a dearly departed friend or family member, crafting an object in their memory can be cathartic. In remembrance of my lovely aunt I set about to create a Memento Mori Ribbon. Memento mori is the (medieval Latin) theory and practice of reflection on mortality and in art memento mori become symbolic reminders of our time here on Earth.
Using easily accessible materials and magical shrink film (think Shrinky Dinks for grown-ups that you can send through your inkjet printer) I created a simple souvenir that I can pin to my bulletin board or hang on my wall. Keep in mind that the dimensions, colors and scale of my Memento Mori Ribbon are merely suggestions. Get creative in your design choices and personalize this project to your liking!
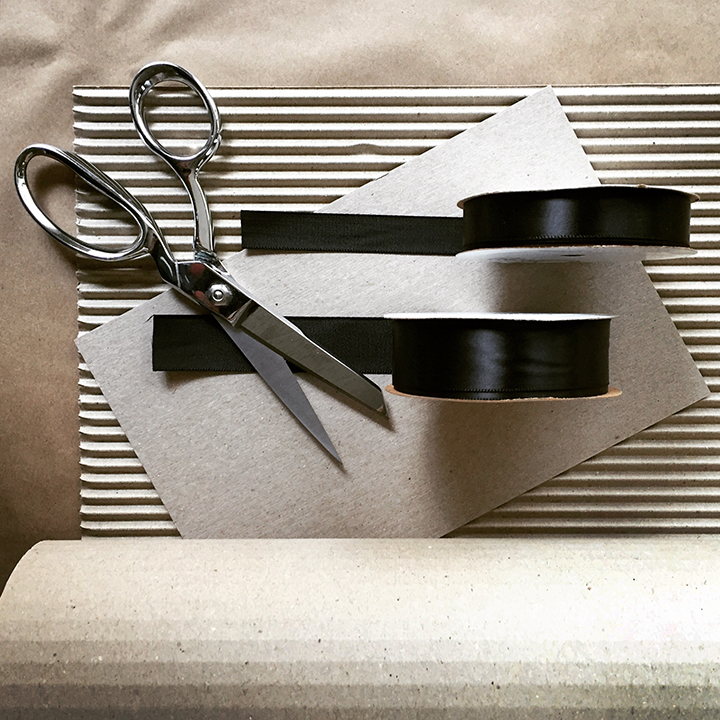
Memento Mori Ribbons Materials:
Single face corrugated cardboard
Lightweight non-corrugated cardboard
7/8” wide satin ribbon
5/8” wide satin ribbon
Inkjet shrink film
Tools:
Pencil
Scissors
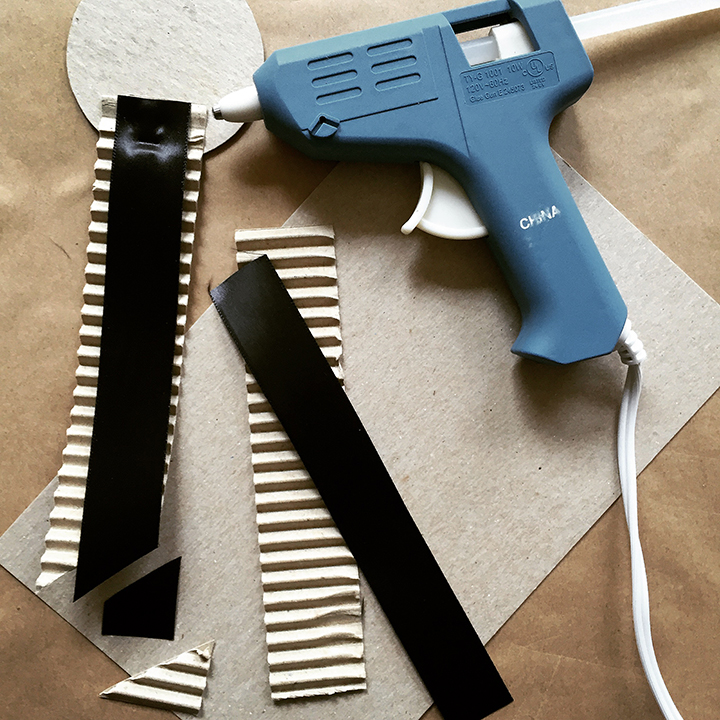
Hot glue gun & glue sticks
Craft knife
Ruler
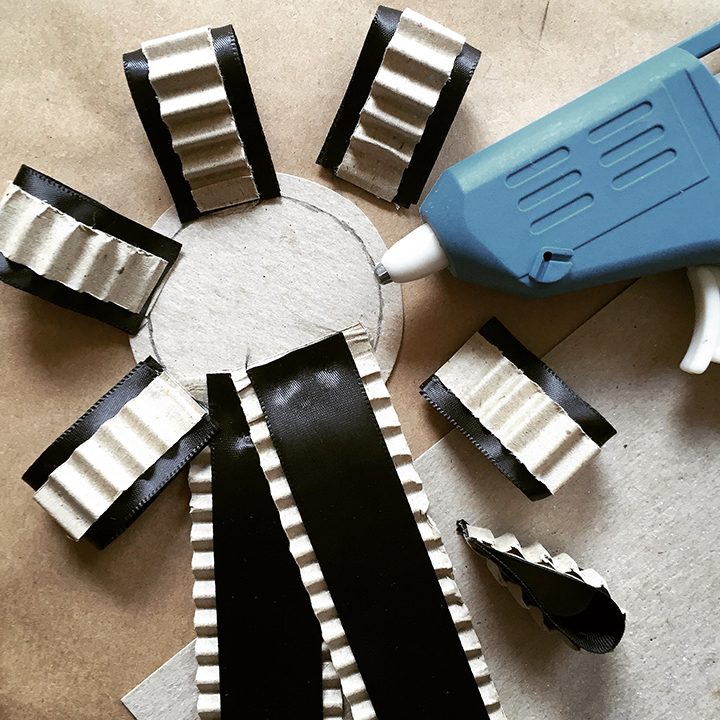
1. Begin by cutting two circles from lightweight non-corrugated cardboard (like a cereal box)-one measuring 2 ½” in diameter and the other 2” in diameter. Tracing jar lids is a quick way to create perfect circles. The larger of the two circles will be the base on which we build our memento mori ribbon. We’ll refer to the round upper portion of the ribbon as the medallion.
2. Utilizing a craft knife and ruler, cut two strips of the single face corrugated cardboard each measuring 1 ½” wide by 6” long. Cut against the corrugated fluting for a ribbed effect. Next cut two pieces of the 7/8” wide satin ribbon each measuring 6” long. These will form the two long ribbons that hang down from the medallion. Hot glue the corrugated strips to the larger 2 ½” non-corrugated cardboard circle in an inverted V-shaped formation. [TIP! You’ll find it easier to attach the medallion elements to the cardboard circle if you crush flat the top two or three rows of corrugated flutes on these strips.] Next, center the 6” satin ribbon pieces over the corrugated strips and hot glue in place. Trim the bottom of each corrugated strip/ribbon combo at an angle.
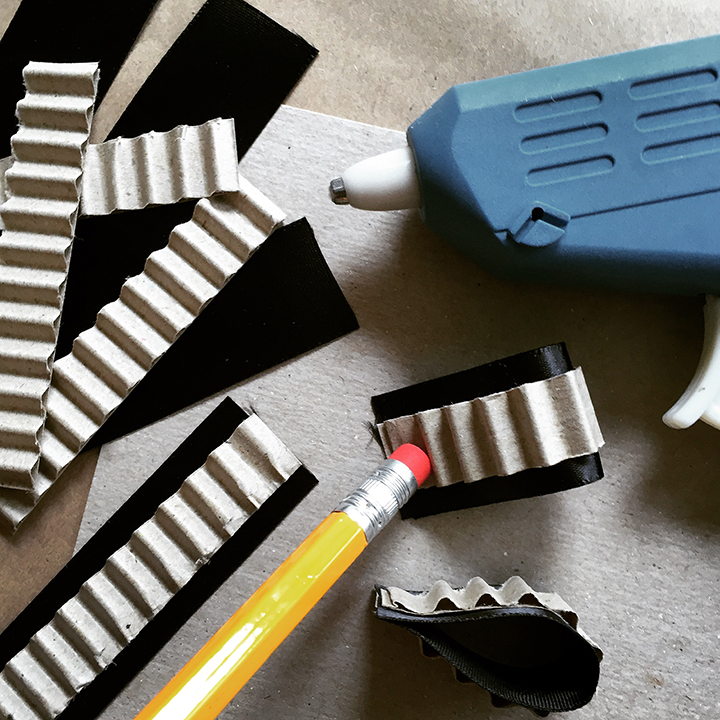
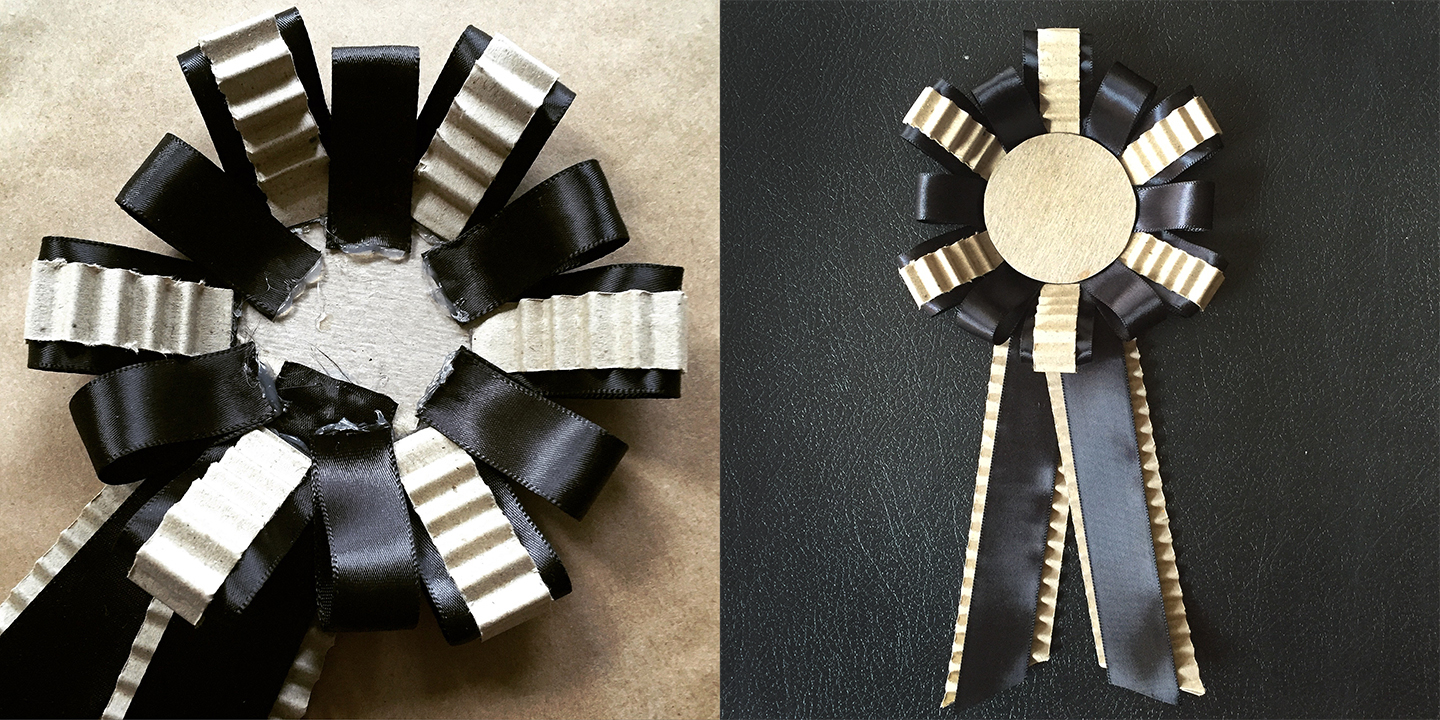
3. Again utilizing a craft knife and ruler, cut six pieces of the single face corrugated cardboard each measuring ½” wide by 3” long. Remember to cut against the corrugated fluting for a ribbed effect. Next cut six pieces of the 7/8” wide satin ribbon each measuring 3” long. These will form the large ribbon loops around the medallion. Lay down a thin line of hot glue along the center length of one piece of ribbon, center a corrugated strip over top and gently press in place. Repeat this with all six pieces of ribbon. Now take a ribbon/corrugated strip combo, bend it around to form a loop and hot glue the cut ends together. Avoid burning your fingertips by pressing the glued ends together with the eraser end of a pencil. [TIP! You’ll find it easier to attach the loops to the cardboard circle/medallion base if you crush flat the last row of corrugated flutes.] Repeat this step to create six loops.
4. Draw a pencil line on the cardboard approximately ¼” from the outer edge to use as a placement guideline. Note that the placement of the long ribbons that hang down from the medallion will prevent you from drawing a guideline around the entire circle, but it will allow you to visually approximate the placement of the loops. Space your six loops evenly along this guideline and hot glue into place.
5. Now cut six pieces of the 5/8” wide satin ribbon each measuring 3” long. These will form the smaller ribbon loops between the larger loops around the medallion. Place a dot of hot glue between two of the larger loops and press one cut end of a 5/8” wide ribbon piece into it using the eraser end of a pencil to prevent burning your finger tips. Then place a second dot of hot glue on the same end of the ribbon, bend the ribbon around and press the second cut end into it – forming a loop. Repeat this with all six pieces of ribbon. When all of the smaller loops are glued in place, hot glue the smaller 2” diameter lightweight cardboard circle into the center of the medallion.
6. Finally create a shrink film photo to place in the center of the medallion. Begin by selecting and scanning a photograph. In a photo editing program, such as Photoshop, crop the image as a circle and size it 50% larger than your desired finished piece. (Not familiar with Photoshop? Consider the CreativeLive course Photoshop for Beginners!) For a medallion center that measures 2” in diameter it is recommended that you size your image to 4” in diameter. Print on inkjet shrink film following manufacturers directions and allow the sheet a few seconds to dry before handling.
You may also want to consider creating two long rectangular text images with information about the subject of your Memento Mori Ribbon, such as their name, and dates of birth and death. Pieces measuring approximately 1” x 8 ½” will shrink to a scale that nicely mounts on the hanging ribbons that hang down from the medallion.
There are a couple things to consider when printing on inkjet shrink film. The image colors intensify when the film shrinks so it is recommended that you set your printer output to normal but change the color intensity to a little over minimum. Alternately, to create an image that is somewhat reminiscent of a vintage tintype, select a black and white photograph or change your image mode to grayscale and decrease the opacity of the image by approximately 50% – then print on clear inkjet shrink film (versus white inkjet shrink film).
Cut out your image and bake according to manufacturers directions, typically 2 to 3 minutes at 350 degrees. Baking the shrink film images will cause them to reduce in size by approximately 50% and increase in thickness and rigidity. Exercise caution in handling the pieces right out of the oven!
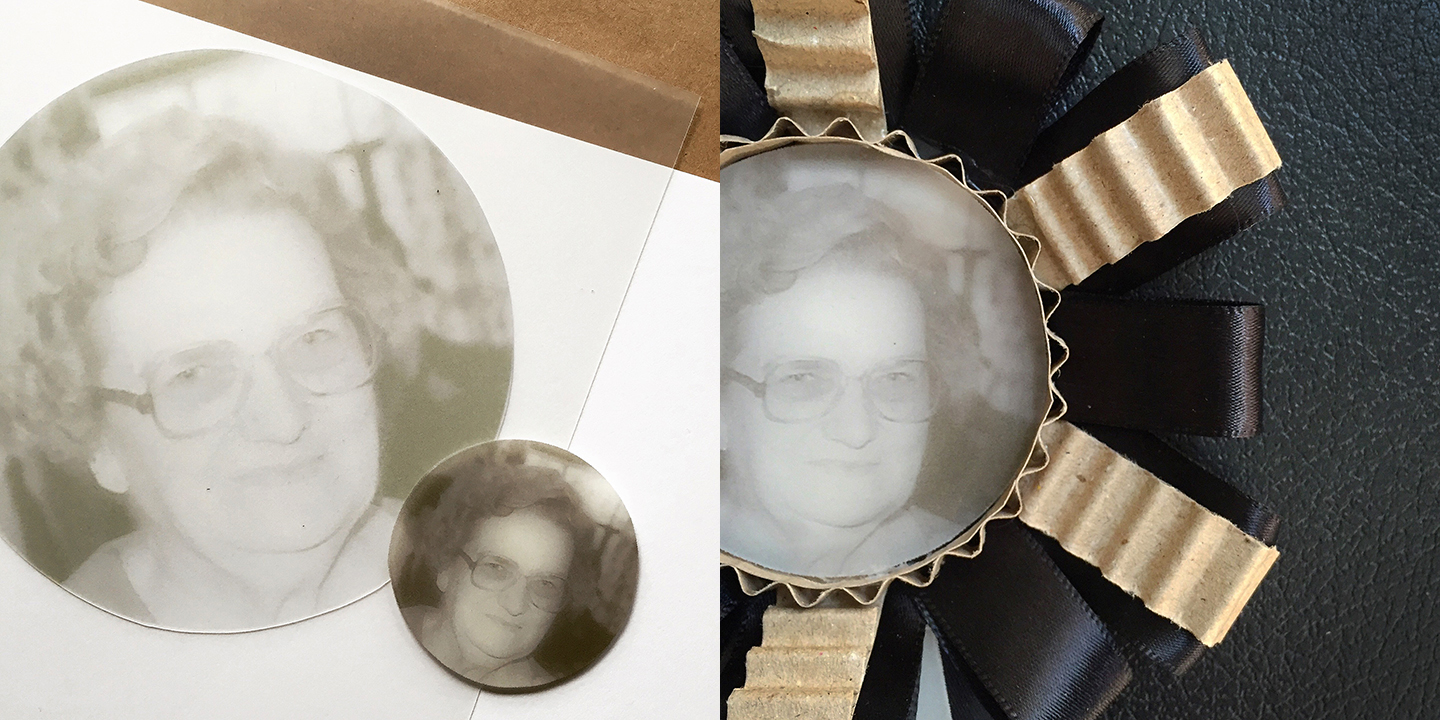
7. Hot glue your shrink film image over top of the cardboard circle in the center of the medallion. Cut a think ¼” strip of the single face corrugated cardboard, long enough to wrap around the outer edge of your circular image and hot glue into place. Be mindful to cut against the corrugated fluting for a decorative ribbed effect. If you’ve created rectangular text images, hot glue these over the ribbons that hang down from the base of the medallion. 8. To display your Memento Mori Ribbon consider adhering loops of hanging ribbon to the back of the medallion.
If you like the paper clovers used in the photos, I’ll show you how to make them in this video tutorial. You can learn how to create other paper flora and foliage in my CreativeLive class: How to Make Paper Flowers.