I know. It’s a Valentine’s wreath that’s not heart shaped, adorned with cupids or sporting a big glittered bow. But it could be! That’s the beauty of wreath making. I tend to gravitate towards lush, full wreaths that rely on natural elements that give a gentle nod to the holiday – but you have my full permission to bedazzle the berries off the branches if it makes your heart happy.
While this project is a great alternative to the traditional Valentine’s Day bouquet, the simple and straight forward technique for working with fresh foliage can easily be used to customize a wreath for any holiday or occasion.
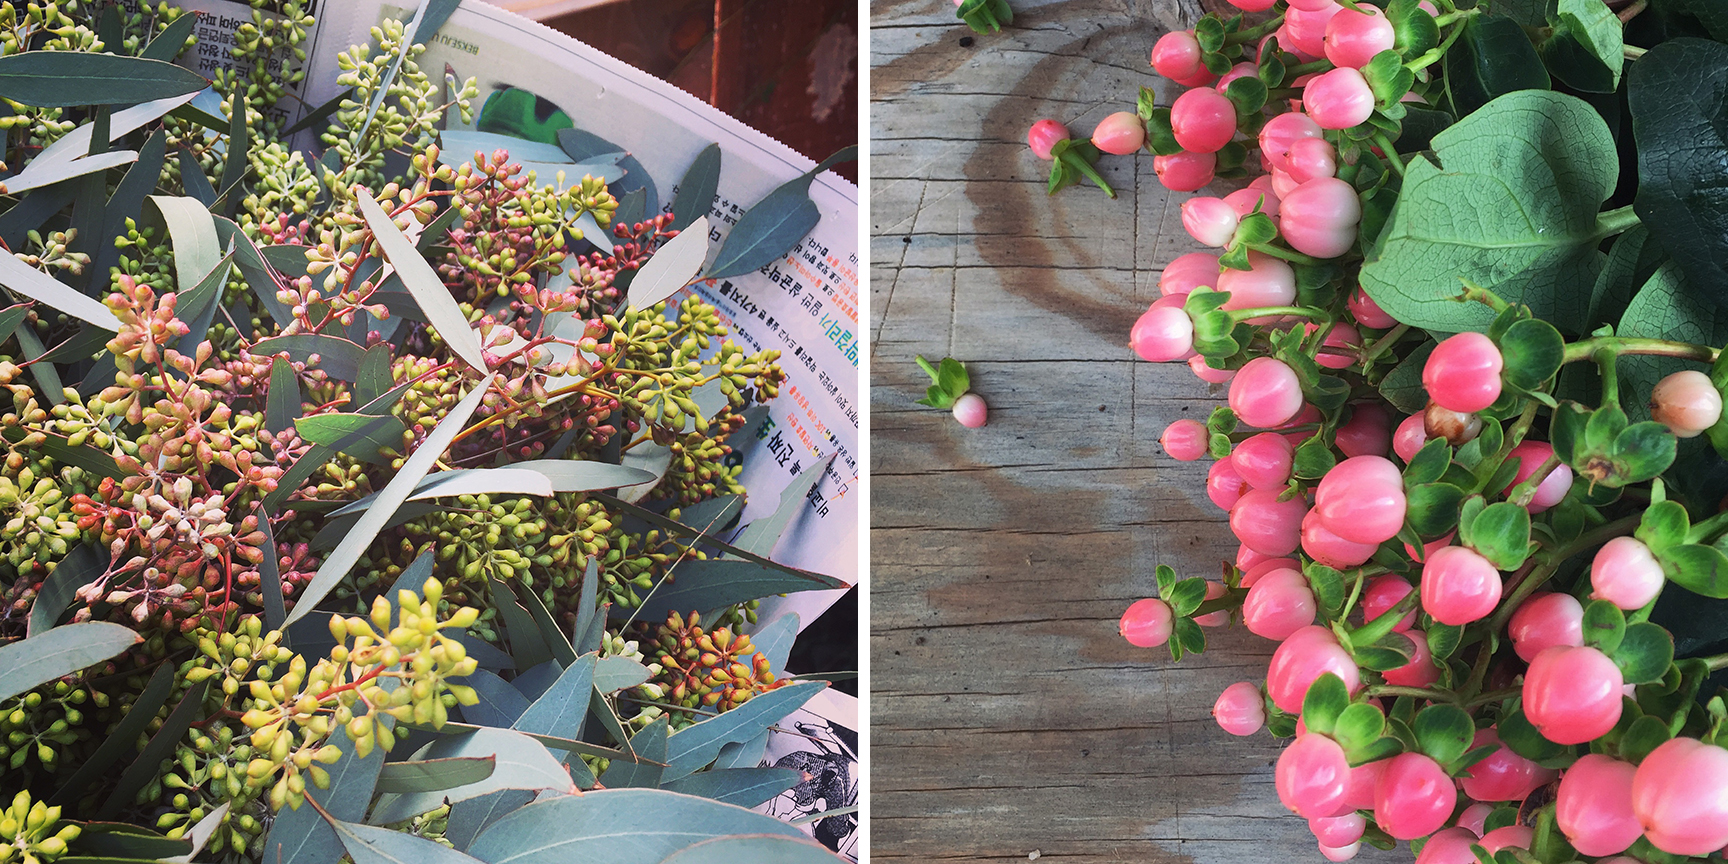
Check out the selection at your local florist or, if weather permits, you might consider foraging greens from your neighborhood. I took a field trip down to my local flower market and came away with three bundles of seeded eucalyptus and one bundle of beautiful coral pink coffee beans. Boxwood branches, lemon leaves, and magnolia trimmings would all make wonderful options! Given that these plants won’t be in water, opt for sturdier greens that won’t wilt in a day.
Fresh Foliage Valentine Wreath
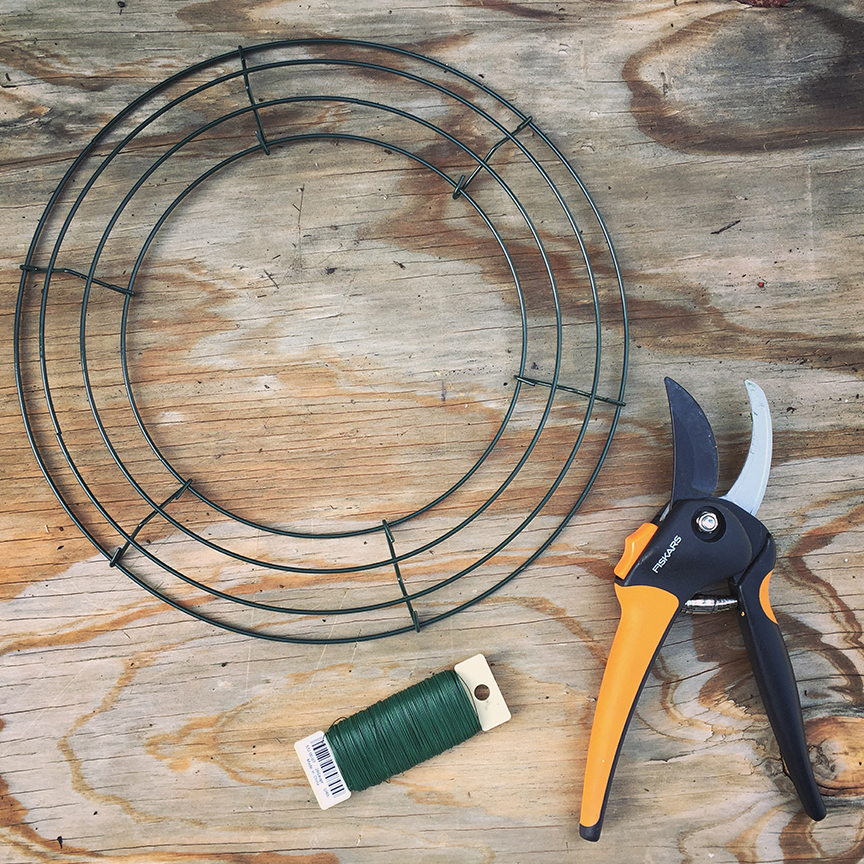
Materials:
Fresh foliage
12” wire wreath form
24 or 26 gage floral wire
Tools:
Wire cutter
Pruning shears
1. Think of your wreath as a series of small bouquets arranged around and wired to a wreath form in an overlapping pattern.
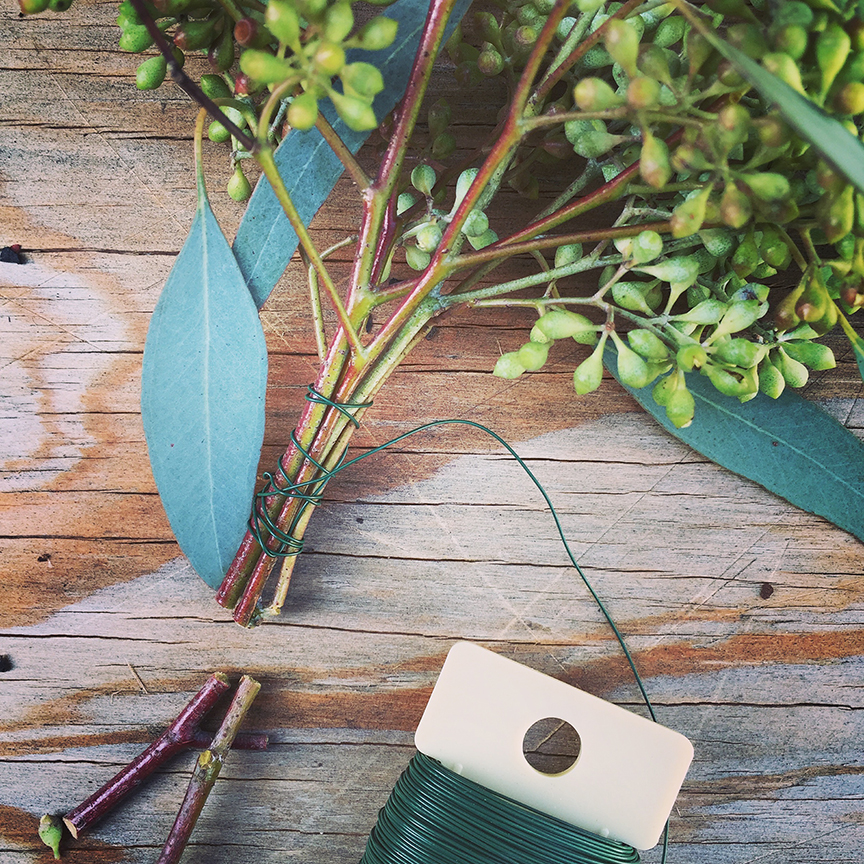
Begin by creating your first small bundle or bouquet of greens. Using a sharp pair of pruning shears trim your branches down into manageable pieces – keeping in mind that your bouquets will be approximately 6” to 8” in length. I created each of my bouquets from four to six stems of seeded eucalyptus. Eucalyptus stems tend to be thin, bending and drooping under the weight of the seed clusters so I selected at least one sturdy stem per bundle and partnered it with a few stems of the floppy variety.
Once you’ve gathered together the stems, strip the bottom 2” to 3” of leaves and then firmly wrap the stems with floral wire. You can either leave the wire attached to the paddle to easily continue wrapping the bouquet onto the wreath form or cut a length of wire at least 12” in length – it’s really a matter of personal preference. When the bouquet feels securely bound, trim the stems roughly 1” below the wrapped wire.
2. Position your first bouquet on your wire wreath form and secure it in place, wrapping it with floral wire. I tend to be a little generous with the floral wire, making certain the bouquet is held firmly in place and then I snip the wire using a pair of wire cutters and wrap the tail end around the wreath form.

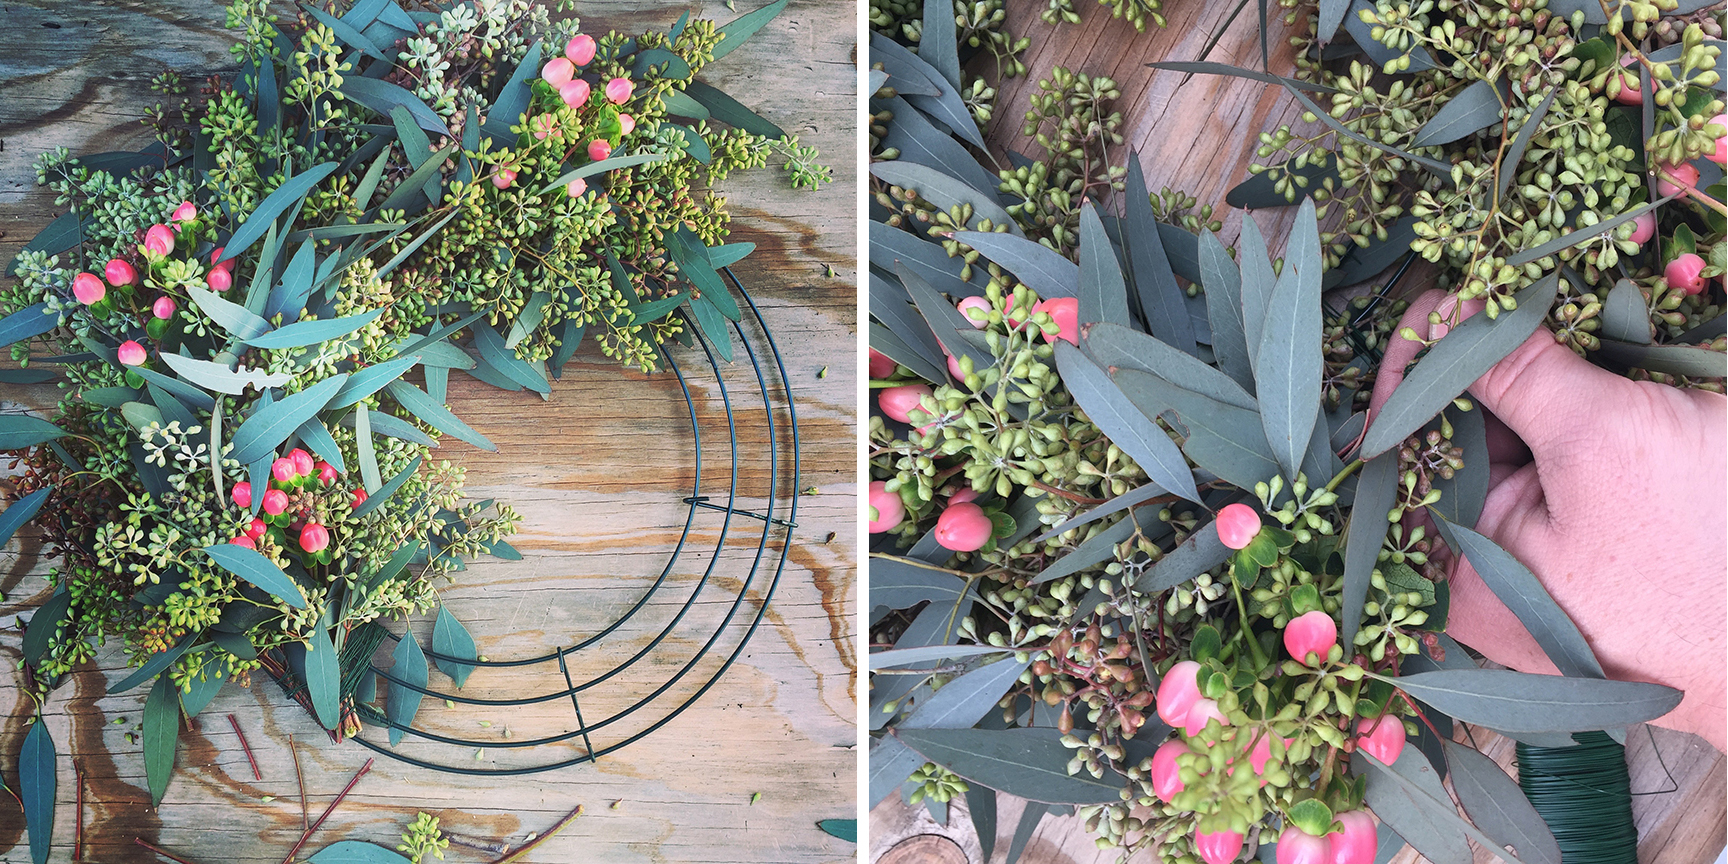
3. Create your second bouquet of greens, but this time consider adding in an ornamental element for color or interest. I utilized small clippings of coral pink coffee beans – including them in every third or fourth bouquet I wrapped onto the wreath form.
4. Next wire the second bouquet onto the wreath form overlapping the base of the first bouquet. The goal here is to disguise the wreath form and the wired stems of the previous bouquet entirely. You may find it effective to wire the first bouquet slightly angled to the right and the second slightly angled to the left – alternating positions as you work your way around to create a wreath that feels full and even. The wreath pictured is composed of 20 individual bouquets.
5. When you attach your final bouquet, lift up the foliage from the very first bought and wire it to the wreath form underneath.
Your wreath is now ready to hang and enjoy! It’s easy to hang the back of the wire wreath form directly over a nail or hook or add a loop of decorative ribbon from which to hang the wreath.

Need a little more visual reinforcement? Here’s a video tutorial I created, demonstrating the process:
Want to take your wreath to the next level? Consider adorning it with the small crepe paper flowers featured in my CreativeLive class How to Make Paper Flowers. I’ll show you step-by-step how to create paper blooms to pair beautifully with your fresh foliage wreath!