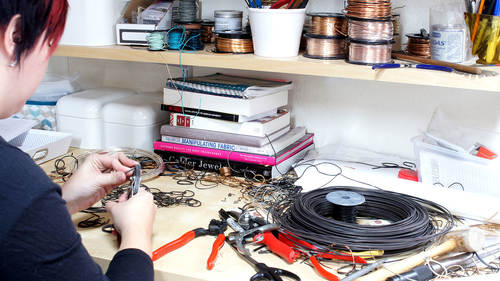
After discovering how cool it looked to see someone’s vintage 3.5×5″ photos on painted woodblock planks at a recent art show, I thought I’d try to apply the technique to Instagram pics. I love how Instagram has become a way for people to document special sights from their day in a beautiful way; that app has truly turned us amateurs into wannabe photographers. Why not turn those special and fun moments from our lives into cute little works of art we can enjoy in our home?
Let’s do it
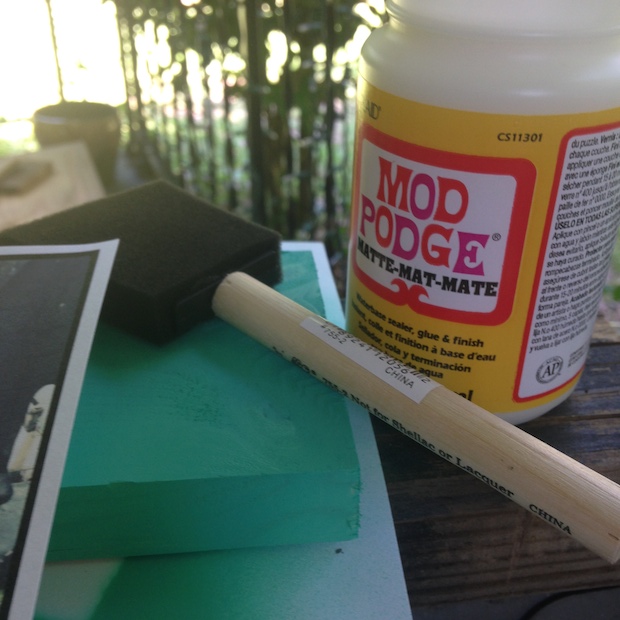
First thing’s first: get your supplies. You’ll need:
- Wood blocks
- Mod Podge
- A sponge/foam brush
- A drill
- Spray paint in the color of your choice
- Scissors
- Printed-out Instagram photos (I used my home printer and card stock, but you could bring them to a drug store to have them printed professionally, if you want)
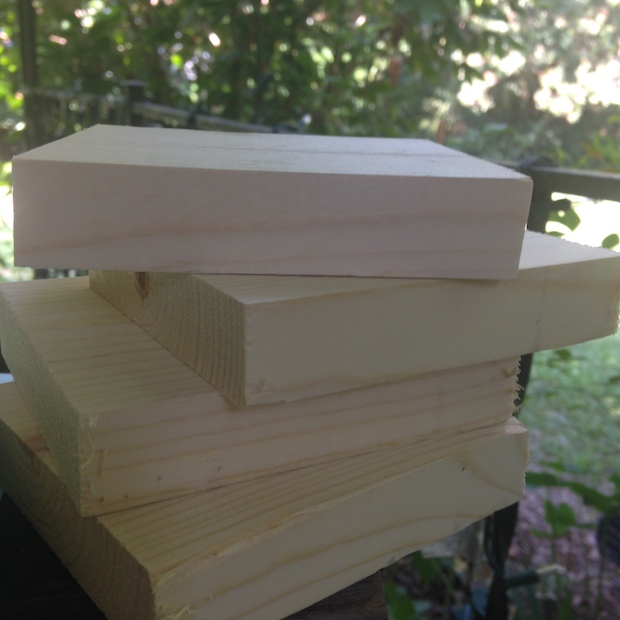
About the wood blocks: What you need to do is find a little wood plaque that’s already cut to size and sanded all nice and pretty. You can do this online, or at a craft store. Or, if you want to do a series of photos — like a set of four from a specific vacation, for example — then go ahead and buy a plank of wood. A hardware store will usually cut the woodblocks for you at no extra cost. I chose a plank that was a little over one inch thick and four inches wide. I had the guys cut me a bunch of 4x4s. That way, I had plenty to experiment with, plus these will make excellent gifts, no?
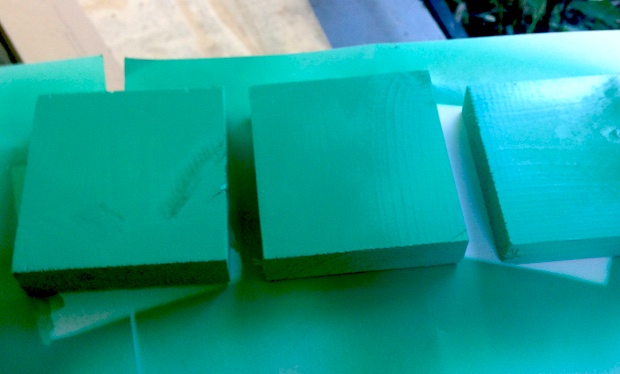
Now you’re ready to turn these naked blocks into painted blocks. All you need is a little spray paint, so go ahead and decide what color(s) you want to go with your pics.
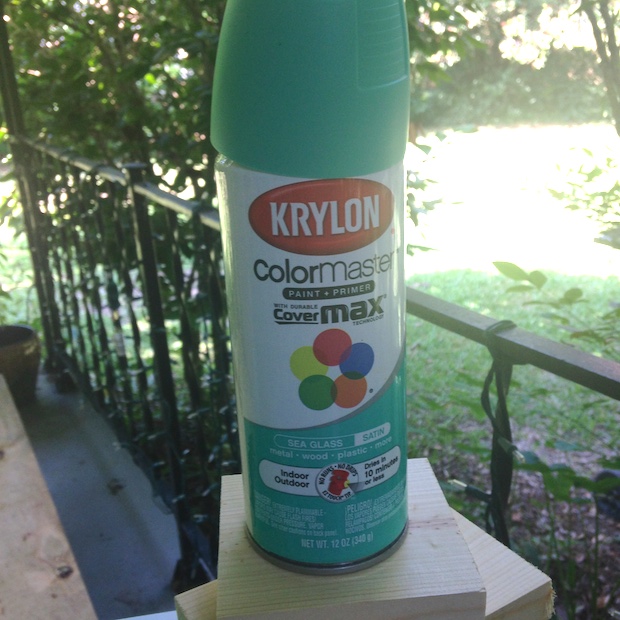
This part is easy. Just spray your blocks, and you really don’t even need to worry about the backs if you’re making them for yourself.
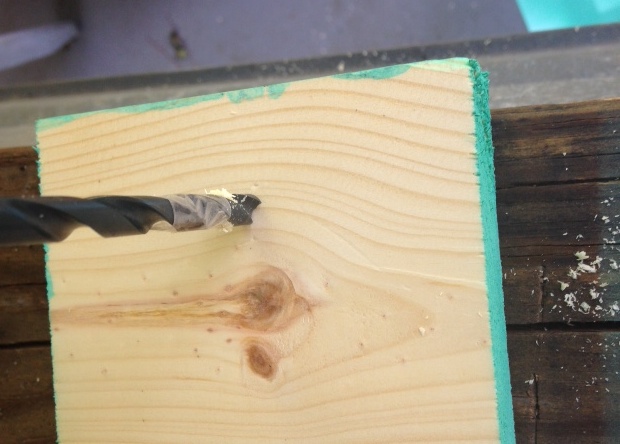
Drill time! Here’s a little trick to make sure you don’t go all the way through. I always use a piece of tape to keep it simple. Just apply it at your stopping point.

Now place your block painted side down and find the center of your block. Feel free to measure this out, because if it’s off center, you’ve blown it! Then, use these circles on the drill to ensure you’re aligned correctly before you press the trigger!
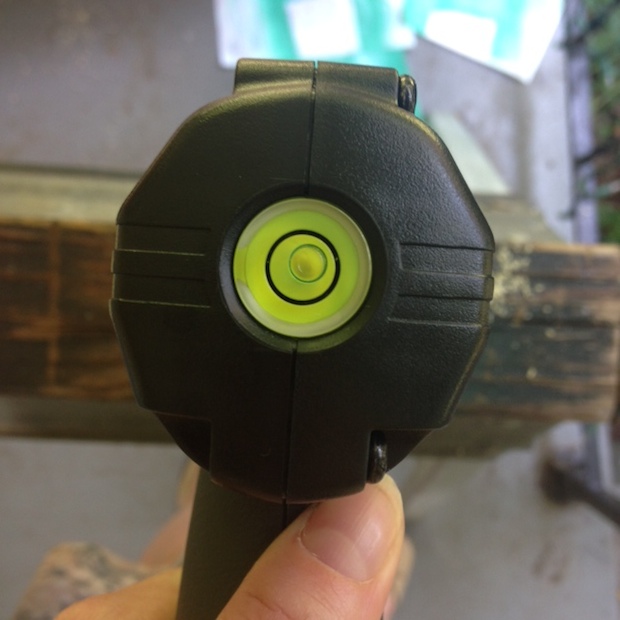
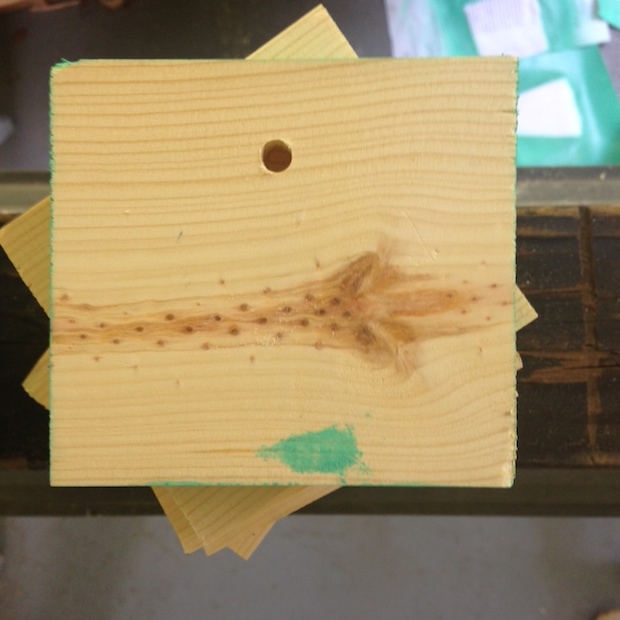
Now go for it. It should only take a few seconds to get the hole right if you apply the right amount of pressure. Now your woodblocks can fit over a nail and sit completely against a wall.
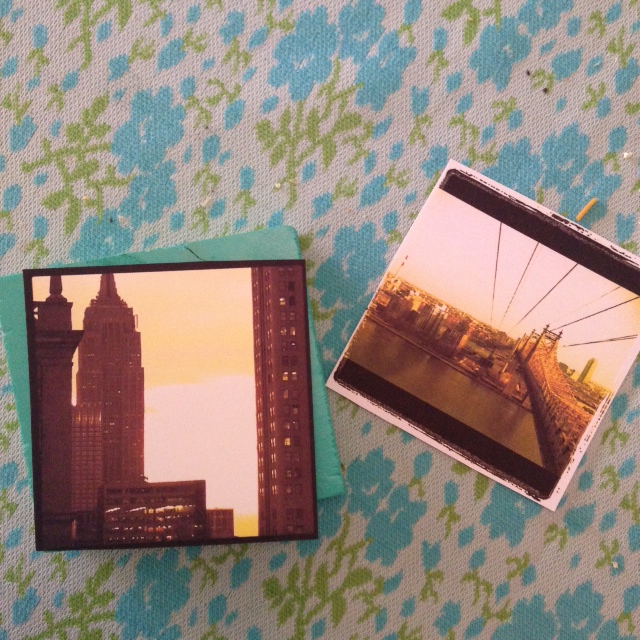
Here comes the fun! Gather your supplies, like your printed out pics, scissors, Mod Podge, and foam brush.
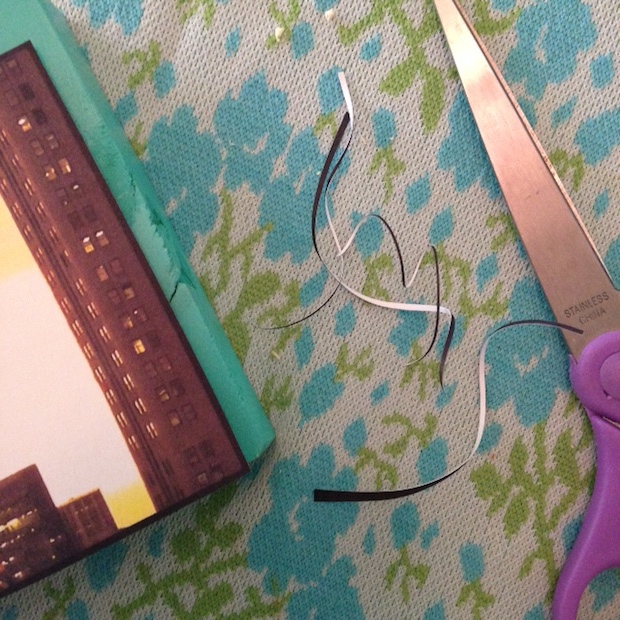
Cut your pics out and align against the woodblock. Do any necessary trimmings now.

Who doesn’t love Mod Podge-ing? Time to dip the foam brush in the glue and evenly spread it all over the back of the photo.

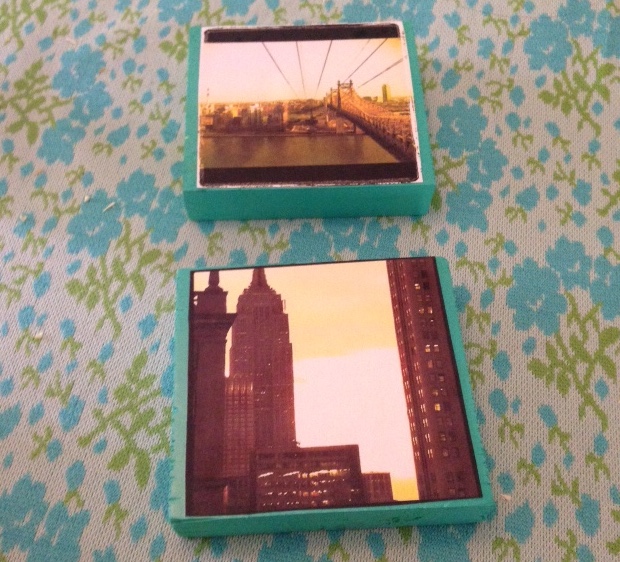
Very carefully apply the sticky pics to the colored sides of the woodblocks. Now you’re ready to hang ’em up, gift ’em, and whatnot. Nifty, huh?
What pics do you plan on displaying on cute little woodblocks?
Kelly Rae Smith writes about thrifting, crafting and home décor for eBay, where you can find sheet music for your own project here.