
Chasing the perfect light is a game all photographers play — but sometimes, you just need a break from lugging around an umbrella and strapping a giant flash onto your camera. In times like those, it’s best to take advantage of the gorgeous hues of twilight and let Mother Nature do the work for you, especially if you’re trying your hand at outdoor and nature photography.
Dawn and dusk are optimal times to shoot just about anything — from landscapes, to portraits, to wedding parties. Not only does soft, dewy light radiate on your subject, but you also don’t have to worry about shadows or highlights, and everything is evenly lit in a luminous pastel glow. And since it’s almost impossible to replicate such flawless tonality in the studio, it’s definitely worth it to haul yourself out of bed at 5:00am and chase that magical light.
So, how do you take advantage of this unique lighting opportunity? Check out some tips from Outdoor Photographer below!
RSVP and join acclaimed photographer Mike Hagen on Tuesday, June 6 for his Intro to Outdoor Flash Photography.

Timing Is Everything
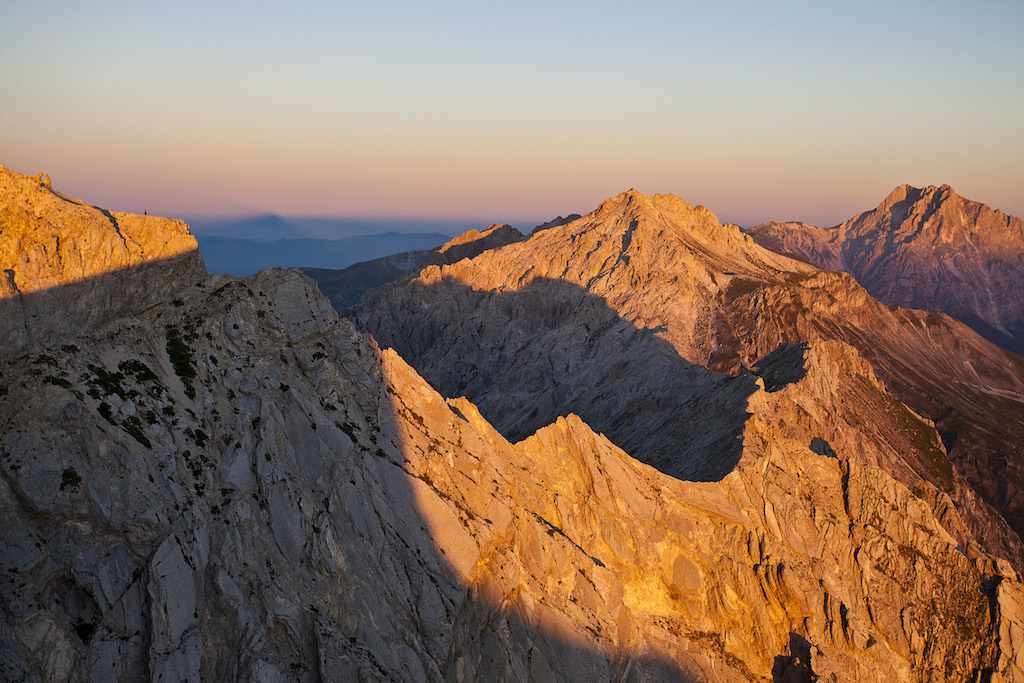
You want to shoot your twilight photos when the sky is at its peak of picturesque. Colors are vivid and bleeding together, the light is warm, and everything looks radiant. But how do you know when you’ll hit the sweet spot? Determine what time the sun sets and rises in your area, and time your shoot accordingly. Your best bet is generally 20 minutes before the sun comes up and 20 minutes after the sun sets.
Look Over Your Shoulder
Shooting toward the sun’s horizon seems pretty obvious (and makes for a gorgeous picture), but check out what’s happening over your shoulder. The opposite horizon will also be a soft pastel-toned pink or yellow, which can lend itself to a beautiful diffused background for your subject. Yep, shooting at twilight gives you two lighting options for the price of one!
 Prepare In Advance
Since you have limited time to shoot, you should prepare in advance as much as possible. Make sure to bring a flashlight to illuminate your camera, or — even better — memorize the camera’s control panel so that you can make quick adjustments in the dark. It’s also wise to have extra batteries on hand since you’ll be shooting with long exposures. Meanwhile, a tripod will go a long way to keep your images sharp.
Shooting at sunrise and sunset requires a flexible schedule, long exposures, and lots of preparation, but the extra effort is well worth the magnificent results. Let’s just say you’ll be proudly using the “no filter” hashtag when you post your pictures to social media!
Source: Outdoor Photographer
RSVP and join acclaimed photographer Mike Hagen on Tuesday, June 6 for his Intro to Outdoor Flash Photography.


