This is a special guest post by CreativeLive instructor Lindsay Adler.
Photoshop is an all-consuming world full of plug-ins and hundreds of retouching options, and the simpler you make it for yourself, the better. I use a three-step process when retouching fashion portraits –– eliminating unwanted blemishes, filling in shadows, and running multiple layers of Portraiture to smooth uneven textures. Touching up your portrait without making the image look fake and over-polished takes a certain amount of finesse, but you’ll end up with a naturally beautiful image with a few simple tips and tricks!
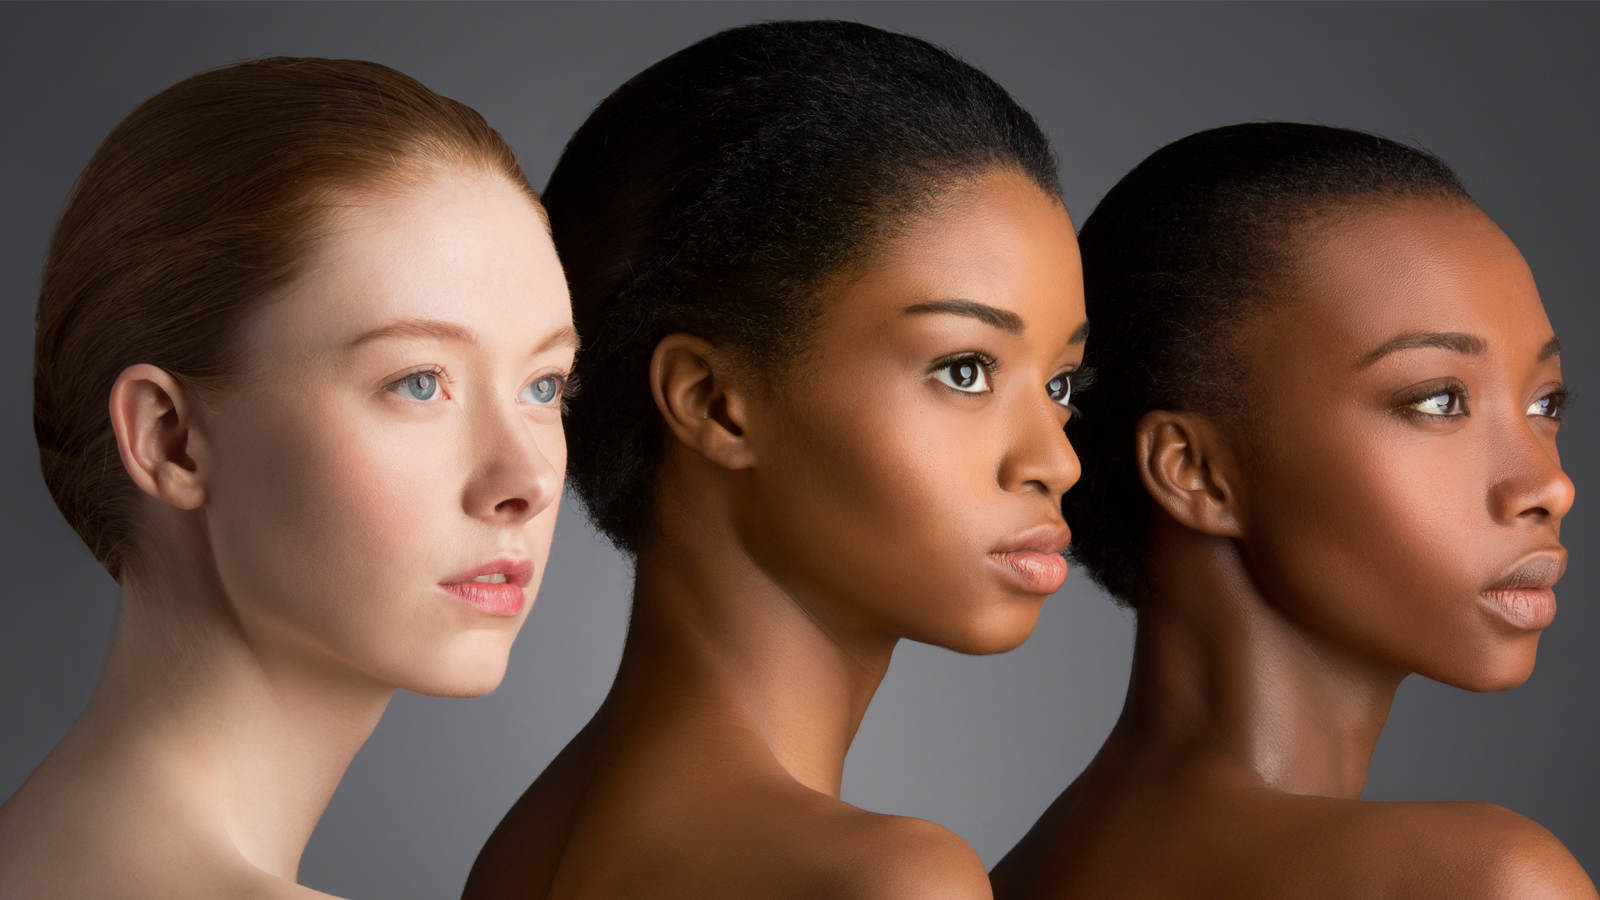
Get Learn how to shoot a variety of skin textures and tones with Lindsay Adler’s Skin 101: Lighting, Retouching and Understanding Skin.
Note: these techniques are applicable when using Adjustment Layers and Layer Masks. Adjustment Layers are like a gel — you place them on top of your photo, and everything underneath will take on the gel’s effect. You’ll then be able to paint the effect on and off with your Layer Mask.
Use the Spot Healing Brush to get rid of blemishes. The Spot Healing Brush is a little circle that you make slightly larger than your blemish. You place it over the blemish and Photoshop will erase it and fill it in based on the textures and colors of the skin around it. It works well for larger pimples or moles.

Use a Patch Tool to get rid of wrinkles. You can use a Patch Tool to select an unwanted blemish or wrinkle, and then click and drag that wrinkle to an area of skin that has textures and colors you want it to be replaced with. The Patch Tool will both replace and blend the area where the wrinkle was. I use this tool for large lines on the forehead, as well as wrinkles on clothing –– but keep in mind that it doesn’t work well for areas with high contrast (like edges) or areas with lots of texture.
Learn how to control how your image looks, down to the pixel! If you haven’t heard of blend modes before, your workflow is in for a treat.
Use Blend Modes to clone. Cloning smooths and blends by rapidly cutting and pasting pixels, but many people use the Clone Stamp Tool and end up losing skin texture. Over-cloned images can look fake, but an easy solution? Blend Modes. They affect how the brush interacts with the pixels you’re clicking on, and you can use them to add texture to images. For example, using the “lighten” Clone Stamp under the eyes will keep the skin’s natural texture, but fill in shadow. It works well for larger smile lines and wrinkles on the neck and armpits. You don’t want to erase them completely, you just want to fill them in.
Use Imagenomic Portraiture plug-in for targeted skin smoothing. I don’t recommend spending your money on tons of trendy software, but Imagenomic Portraiture is great for extremely targeted retouching. It allows you to select specific skin tones and adjust how smooth you want them, breaking the categories down into fine, medium or large details. I don’t typically smooth out the fine details because I want my portraits to look as natural as possible. One of the great things about this plug-in is that you can pick what part of the image you want to target, smooth it out, and then create a transparency mask, which will show you the pixels you’ve just affected. If you accidentally smoothed out something you didn’t want to (like lips or eyes), you can go back in and erase it!

Break free of traditional portrait & wedding photography with Fashion Flare for Photographers with Lindsay Adler. Watch Now!