One of my favorite projects from Paper Crafting: Skills and Technique is suminagashi, the Japanese method of paper marbling. These floating inks are easy to work with and fun to manipulate on the surface of a water bath to create patterns that can be transferred to paper. Lesser known though, is the fact that you can also utilize suminagashi to marble wood. That aisle in the craft store filled with wood for model building along with pre-cut shapes and letters can all be marbled!
I found 12″ square sheets of paper-backed wood veneer and by way of demonstration, I want to show you how to create a simple set of napkin rings. Prepare all of your materials in exactly the same way you would to marble paper – Introduction to Paper Marbling details everything you’ll need.
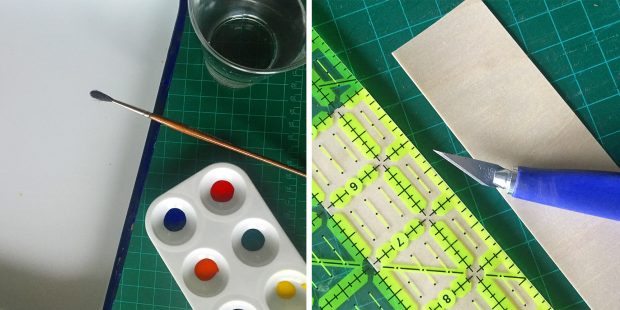
Begin by cutting the wood veneer into strips measuring 1 1/2″ in width by 6″ in length. Veneer is incredibly thin and as such can be easily be cut with a crafting knife or scissors.
 When you go marble the wood veneer strips, keep these things in mind:
Wood absorbs the suminagashi inks just as quickly as paper, so don’t leave them soaking in the water bath longer than necessary.
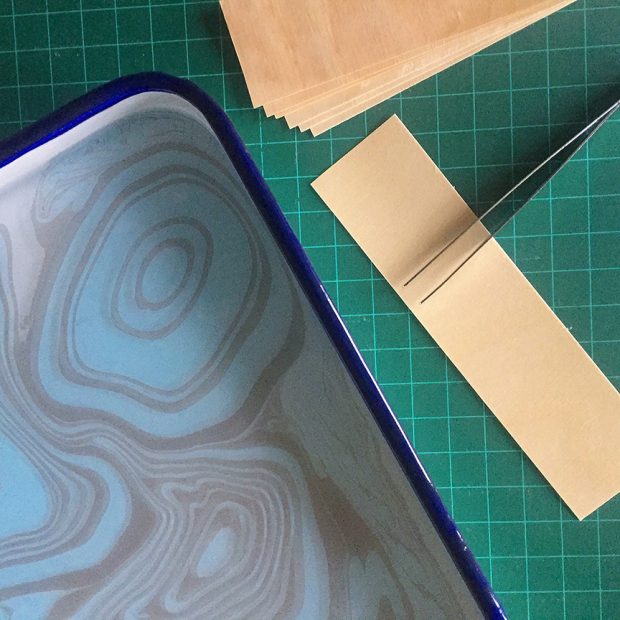
You may find it helpful to employ the aid of tweezers when placing smaller pieces onto your floating ink patterns.
Consider the placement of your pieces on the marbled patterns. Any surface area of the water bath not covered in ink will reveal the raw wood – use this to your advantage!
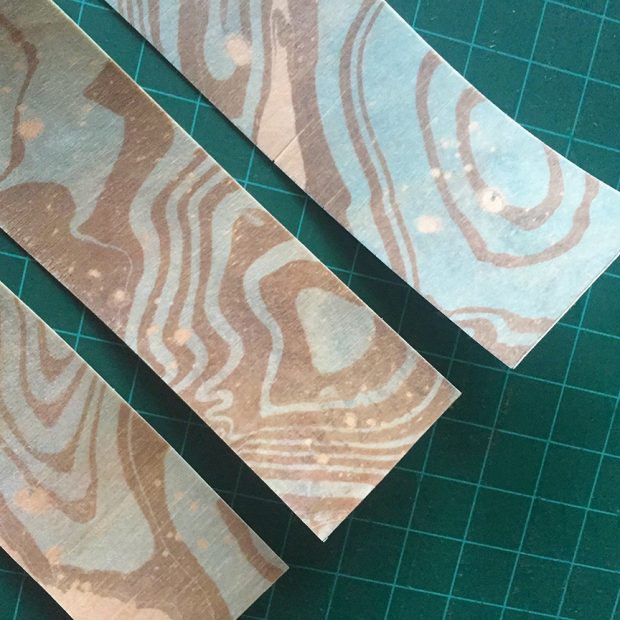
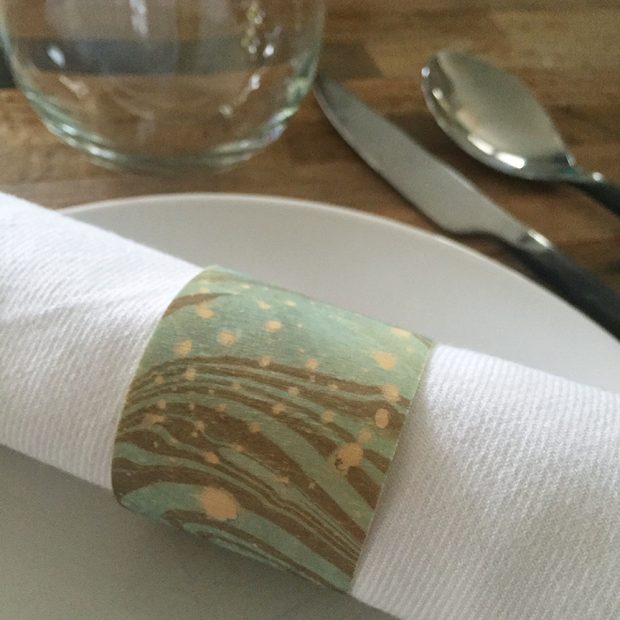
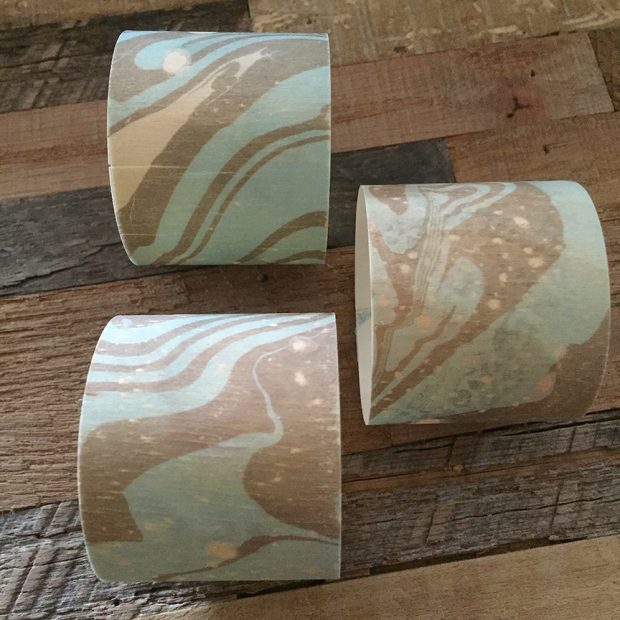
Unlike paper, which is more flexible and can be rolled onto the surface of the water bath, veneer is slight more rigid and has to be placed flat on the surface. This can cause tiny air bubbles caught between it and the marbled ink pattern, creating little blank dots. In the case of the napkins rings they almost look like a galaxy pattern, which I quite like.
Wood veneer, much like paper, may warp when wet. Minimize the warping by quickly blotting the pieces and then allow them to completely air dry. Once the veneer is completely dry consider placing the pieces between sheets of paper towel and pressing them with a warm, dry iron or position them between the pages of a heavy book and allow them to sit for a few hours.

One optional step at this point is to add a coat of varnish to act as a sealant. The suminagashi ink won’t wash off, but the varnish will add a little longevity to the napkins rings.

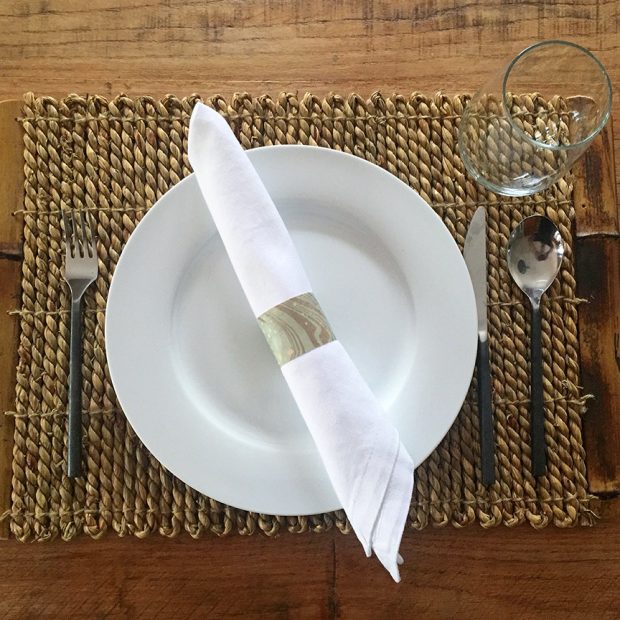
Form your rings by applying a thin band of craft glue along one end of the veneer strip and then overlap with the opposing end. Secure the ends in place with a couple of clothespins while the glue dries. Once dry, the napkins rings are ready to use!

Suminagashi marbling is easy to fall in love with – the technique is easy to master with a little practice and the start up cost of materials is relatively low. I love the organic nature of the patterns and each one is unique. And now that you know you’re not limited to marbling just paper, I hope you’ll experiment with patterning all different variety wood. The napkins rings are a great gateway project – another would be marbling the wood veneer chain I’ll show you how to construct in this video tutorial: