Admit it: Some of us (like those of us who work remotely a lot, or travel regularly) are hard on electronics. But when your electronics are basically your lifeline, you need to figure out ways to cushion the various blows — in the bag at airport security, then back in, then out again — that may befall them, while also, you know, maintaining an air of professionalism. But why buy a cute protector on Etsy when you can make your own DIY laptop case for next to nothing?
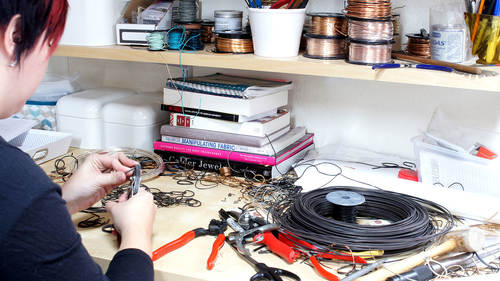
I made this one using some material I found at a Goodwill, plus some fabric my mother sent me as a gift (thanks, mom!). I highly recommend hitting thrift shops for material; Second-hand sheets, blankets, dish towels, and even oversized clothing are basically just fabric waiting to be transformed into something cooler.
For this project, you need:
- Basic sewing notions (thread, pins, an iron, etc)
- The dimensions of the device in question — this could easily be a tablet or eReader case.
- About a yard of each kind of material (enough to cover the device, plus a fold-over flap and some extra to ensure it fits) — one outside material, which should be something hefty, like a felt or an outdoor fabric, and one interior material, which can be whatever you like, but I’ve found that softer textiles, like jersey, just don’t work as well.
- Batting/Some kind of a structural agent (optional — you can just make a fabric sleeve if you like, too)
- Velcro (or a button, or whichever kind of closure you want
Then you:
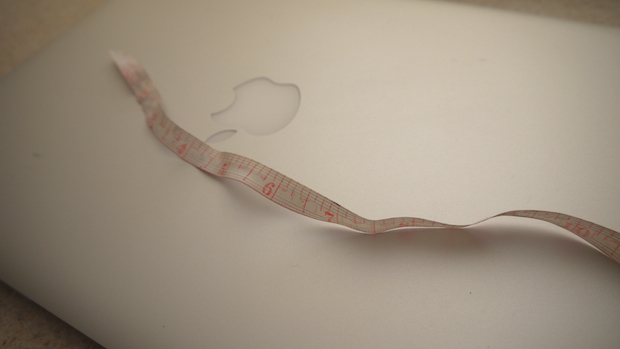
Measure your device, and cut your materials. Your fabrics will all be different sizes — the shell will be large, while the shell and batting will be smaller. You need enough of each material to cover the whole thing and leave you some room to do your sewing. These are approximate measurements for my MacBook Air (12in x 7.5in), but they worked well.
- The shell needs to be twice as long as your laptop, since you’ll be folding it in the middle to form an envelope, and have a slightly longer edge to create a flap — about 16in x 19.5in
- The lining is just slightly (about an inch all the way around) smaller than the shell, so that it doesn’t show. You’ll want to sew very close to the edge of the shell — about 15in x 17.5in
- The batting isn’t part of the flap, and it needs to fit inside the envelope, so it should be short and slim — about 14in x 16in
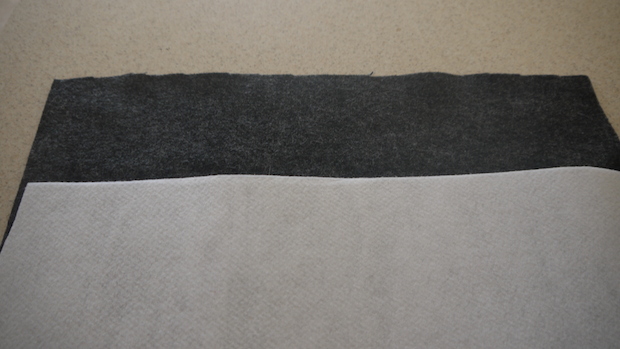
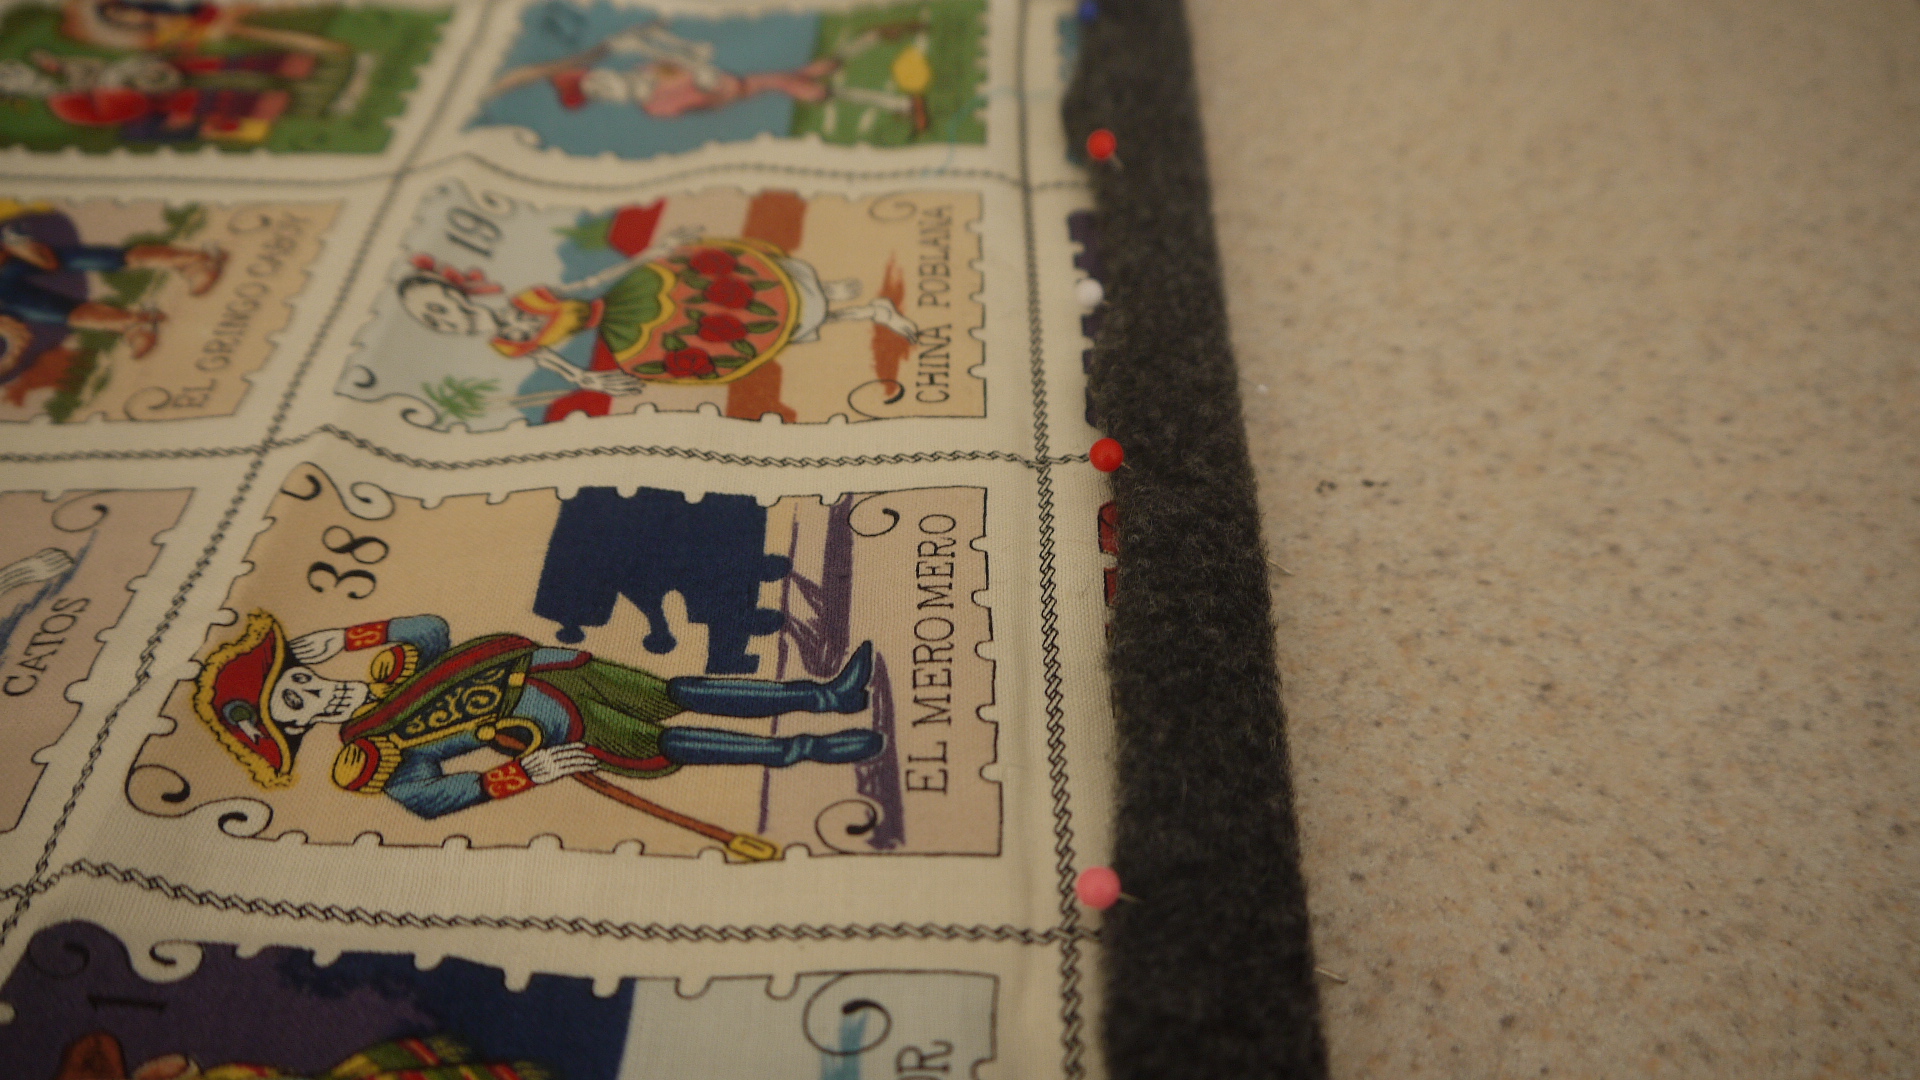
Once you’ve got your material cut, line up the liner and the shell. You’ll want to sew the material on three sides in a way that you can turn it inside-out (if you’ve ever made a pillowcase, this should look familiar). Pin them to ensure a straight seam.

You’re basically just affixing the two materials together and leaving one side open so that you can turn it inside-out, the sew down the long part of the shell to cover the opening. So sew up three sides — the long sides and the short side that doesn’t have the longer shell edge.
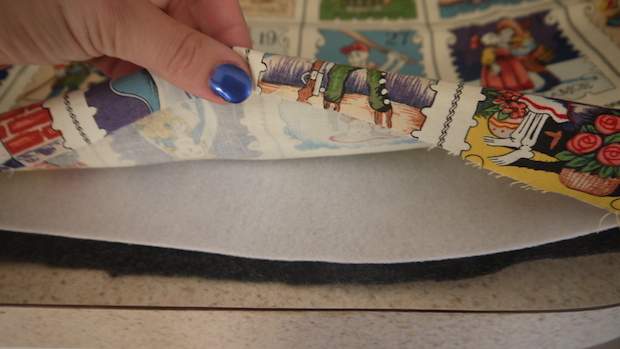
Once the three sides are sewn, turn your material inside out, so that the right sides are sewn together, but you can’t see it. If you’re using batting, slip it into the envelope, leaving space at the top, which will become the flap. If you’re using iron-on batting, you can iron it. Otherwise, it can just sort of sit inside the case.
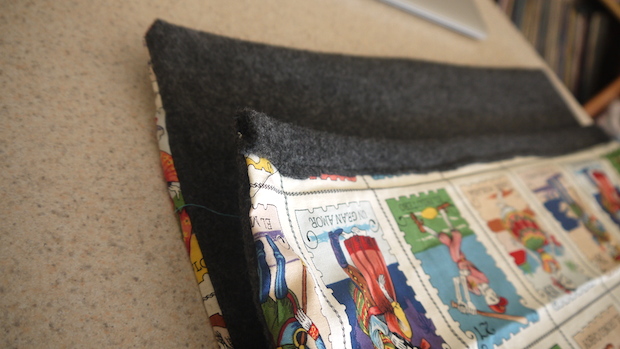
Iron the extra shell material over the open edge, sealing in the batting and making what will be the top of the opening of the case look nice. Sew it up.
Zig-zag stitch the liner to the shell to ensure it won’t fray.

Now, fold the case in the middle (with the flap for the closure still free). You might want to do this around your device to make sure it still fits. This can also be a good time to decide how closely to sew the inside seam. With the case inside-out, sew the seams on three sides (all but than the opening). This might give your machine a run for its money, since the material will be pretty dense at this point, so you may want to use a longer stitch length.
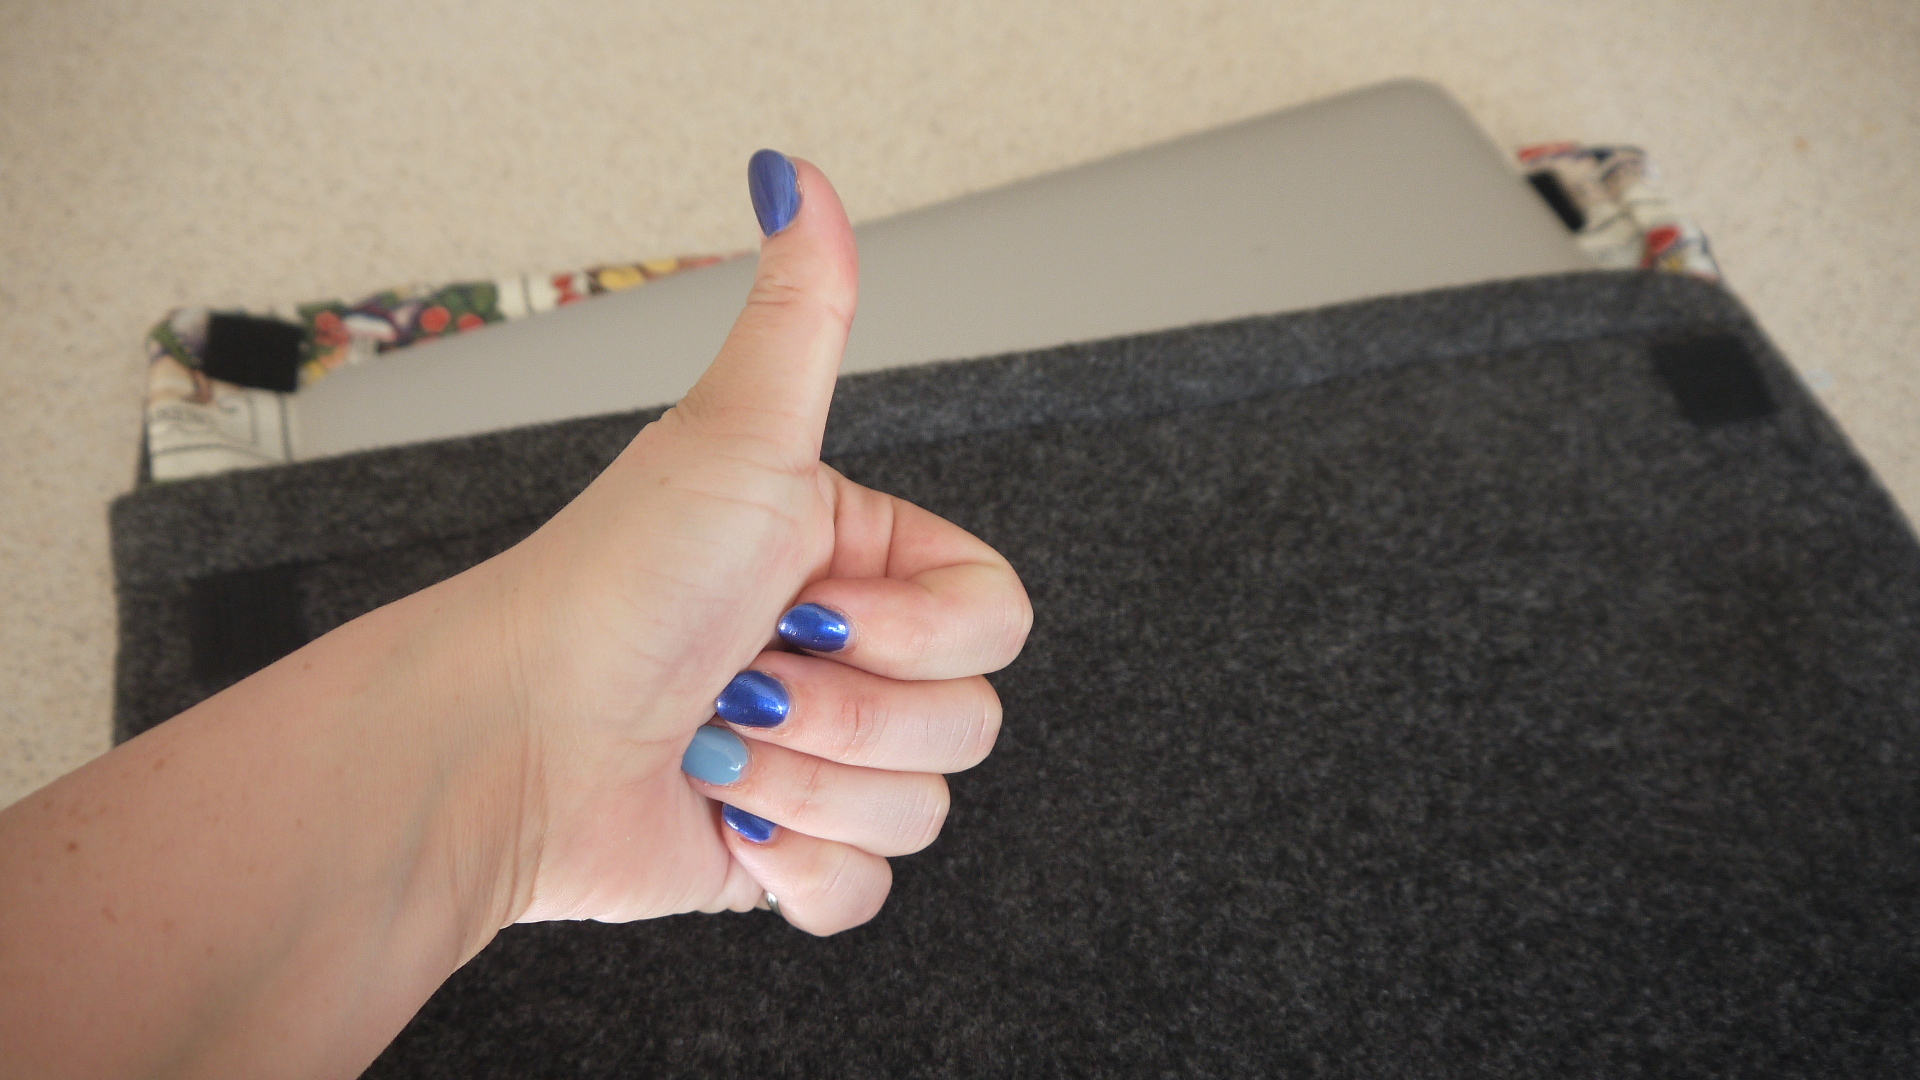
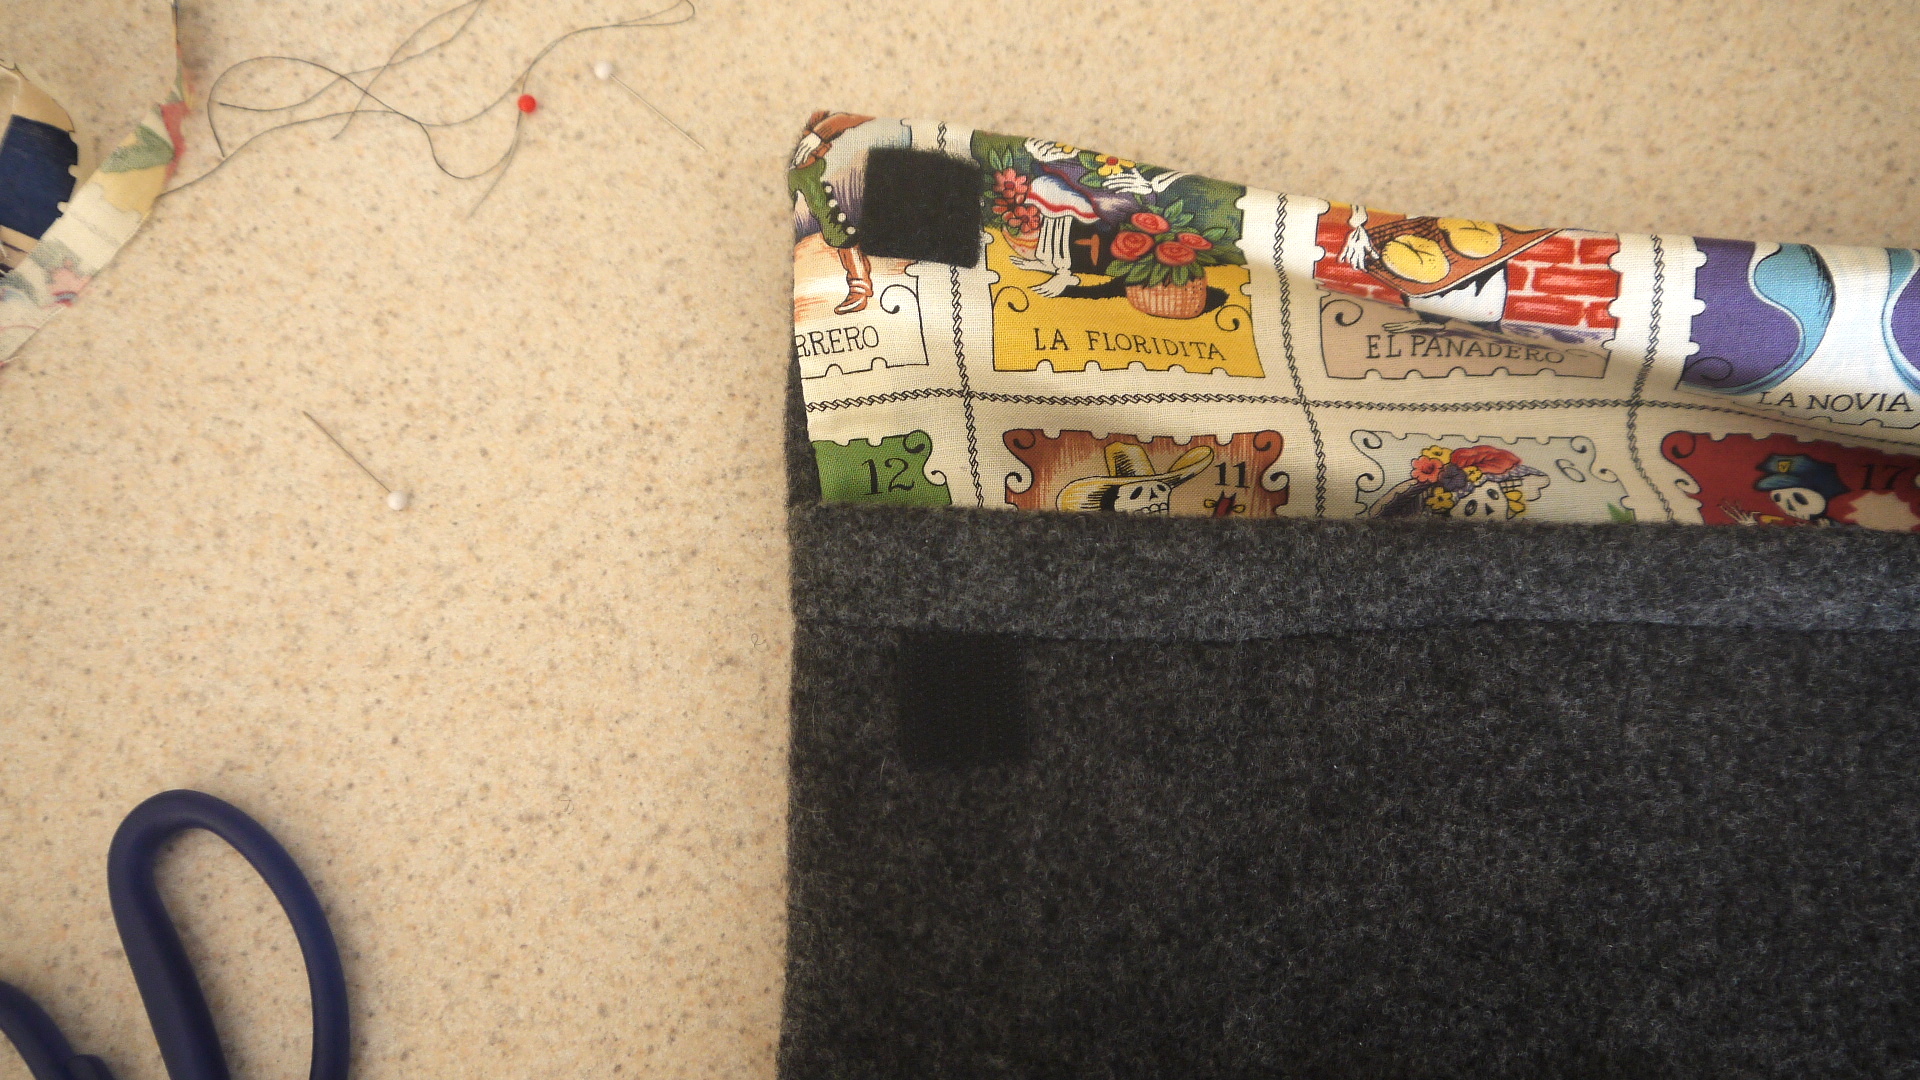
Turn the case right-side out and you’re done with the sewing bit! Now, affix your Velcro. I used self-adhesive Velcro, but adhered it with additional fabric glue to ensure it wouldn’t come off. You can also sew the Velcro on, or simply fold the case over. You can also add a button and an elastic-tie closure, or basically anything else you want.
Ta-da!