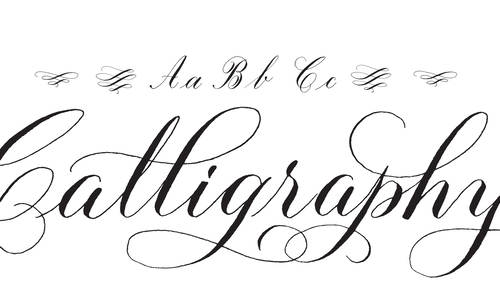
Hand-lettered, DIY wedding invitations and save-the-dates bring a beautiful, handmade touch to the wedding planning process, but if you haven’t done a lot of fancy penmanship work before, the actual making of the cards and addressing of the envelopes can be kind of a daunting process.
The best thing to do, of course, is to practice on something other than your $2-per-sheet paper before (if you’re really a beginner, you might want to check out these instructions) you dive right in, and to make sure you have all of your names and addresses correct. But following those basics, here are a few more must-have tips specifically for DIY wedding invitations and other envelope situations.

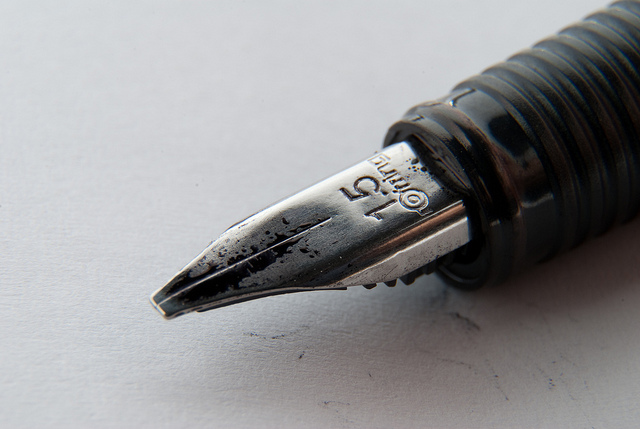
1.) Know the nib. If you’re using high-quality envelopes, there’s a good chance they’ll be a cotton-paper blend. But, says calligrapher and hand-lettering expert Bianca Mascorro, a sharper nib will snag, which can make it difficult to get those elegant, perfect lines you’re after. Try a slightly wider or rounder nib to ensure that you can move smoothly over the thick paper.
Additionally, “the pulp really does really sort of build up in your nib quite a bit,” so be aware of the changing conditions which might alter the stroke.
Make sure you have more envelopes and cards than you’ll need, and then use one of them to practice guiding your pen over the paper.
2.) Stay focused. One of the best parts about making things by hand is that it can be very relaxing — which can get you in to trouble when you’re also trying to address something.
“I do want to make sure I’m focusing on the lines and on my spacing,” says Bianca, “…but I’m not going to lie, the brain does go where it wants to go.”
When your mind wanders, you may find yourself transposing numbers or misspelling things. So as much as this is an exercise in quietly making something and giving your brain a break from the digital world, it’s also important to concentrate on the essential elements.
3.) Pick your colors wisely. Using a black or navy envelope with white ink can be a fun, different look — but it can also present different challenges. Whereas a white envelope can be laid over a light-board or even just a sewing mat with lines on it, a darker-colored paper choice will require you to draw your guidelines right onto the envelope, and then erase them later.
That’s fine, but be sure you pick inks that can stand up to the challenge, and give them plenty of time to dry. You’ll also need ink that’s opaque enough to show up on just a single line, and a nib that holds color well.
The best way to know which colors and inks and papers and nibs work together is, of course, to experiment. And, if you’re in doubt, ask around at your local art supply store — institutional knowledge can be hugely helpful when working with such a detailed job. And be sure to check out our Introduction to Calligraphy class with Bianca. In goes in detail on all the calligraphy basics you’ll need to create gorgeous DIY wedding invitations.
Download our Beginner’s Guide to Calligraphy to get started down. Just click on the blue download button below:
[subscribe2download link=’http://blog.creativelive.com/wp-content/uploads/2016/02/Bianca-Mascorro-Introductory-Calligraphy-Guide.pdf’ title=’Enter Your Email to Download the Guide’ source=’Calligraphy-Guide’ type=’Download’ channel=’Craft & Maker’]
< >
>
[/subscribe2download]