Once upon a time, food photographer, stylist, and writer Andrew Scrivani, was not a fan of his light table.
It was large, heavy, immobile, and featured a sag in the middle of the table — in other words, this important set piece was failing to provide the professional-grade lighting Andrew needed.
Frustrated, he decided to build his own — one that turned out to be cheaper, lighter, sturdier, more versatile, and better matched to his needs than even a commercial light table.
So, how’d he do it? Luckily for us, Andrew gave us a short tutorial on hacking the light table. This $60 DIY studio fix (compared to a $500 product purchase), is great save on budget and space. Not only is Andrew’s light table mobile and easily adapted for gels or windows, it’s a perfect option for professionals who want to conserve square feet in their small studio. The unique advantage of a light table is that it allows light to penetrate through the product you are photographing, making it the perfect setting product, still life, silhouette, and food shoots.

What You Need:
1 sheet of acrylic #2447 sheeting (¼” with protective backing); cut to the table dimensions you want 24 x 36
4 lengths of 1×2 pine lumber (cut to table dimensions)
4 metal corner braces
16 screws (to fit corner braces)
10 self-drilling screws
10 washers
1 power drill
How to Build It:
Cut the lumber to match the perimeter of the acrylic sheet (creating a picture frame around it). The lumber will fit inside itself at the corners, so cut the two short pieces less the width of the two long lengthwise pieces.

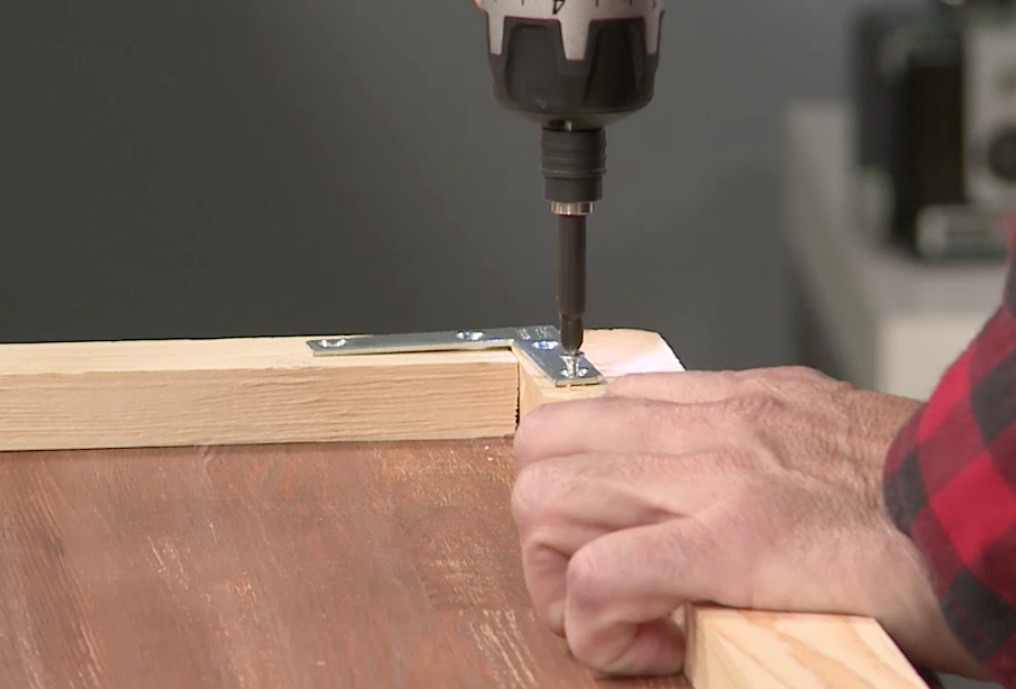
Install and screw in corner braces onto lumber.
Place the acrylic on top of the completed frame. Mark the screw holes every 12 inches on acrylic (Andrew recommends staying away from the corners so you have a solid grab on the wood).
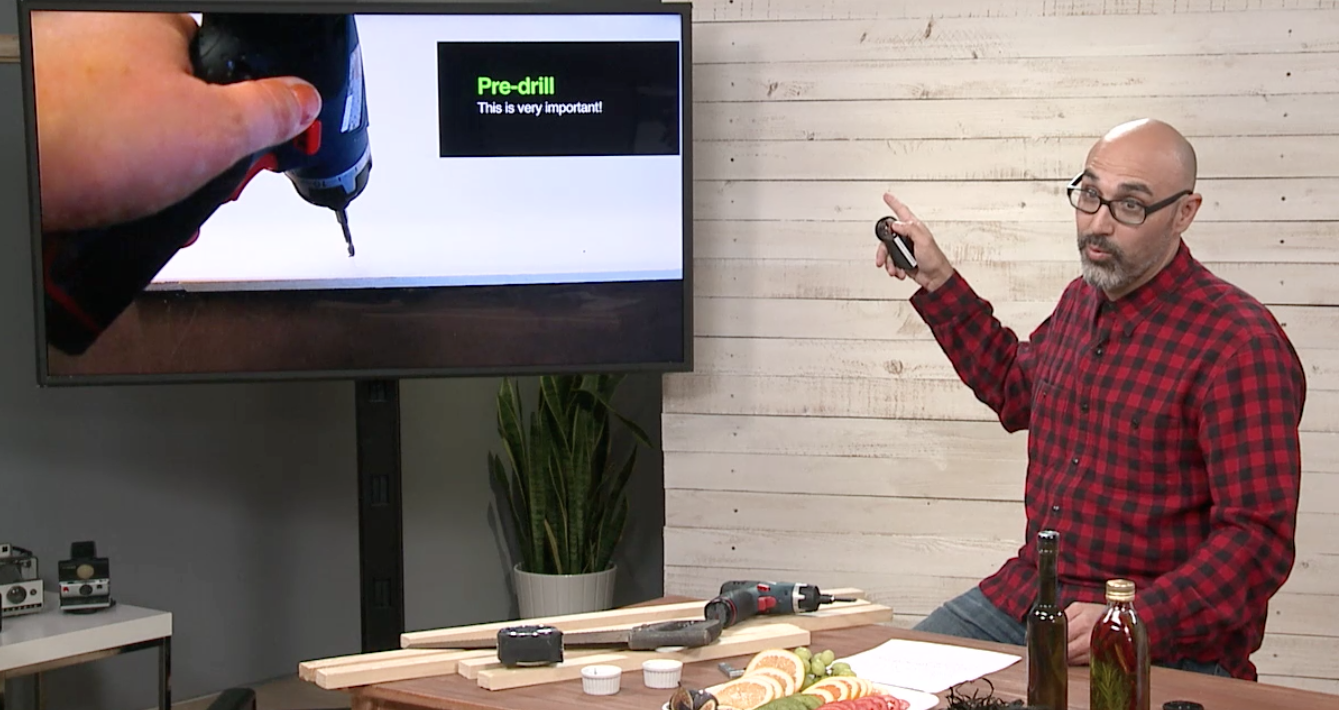
Pre-drill holes on the acrylic with a regular hand drill.
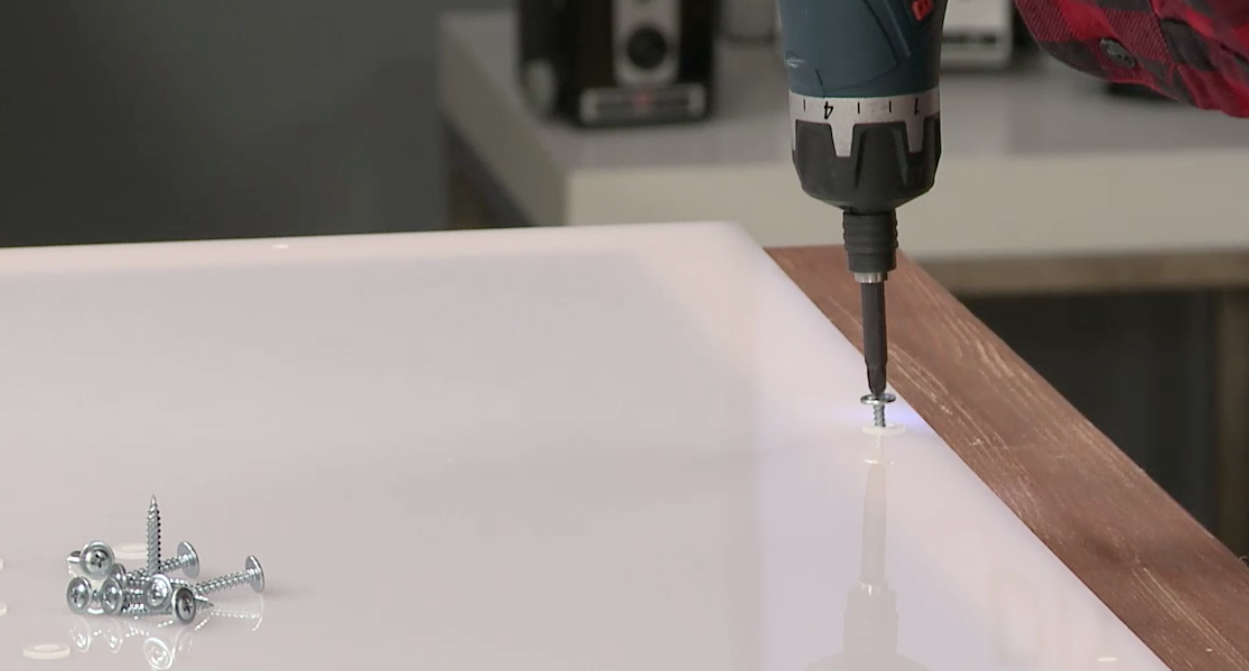
Drill in screws on all sides. Get snug with the screws, but don’t go too tight, as you’ll crack the acrylic glass.
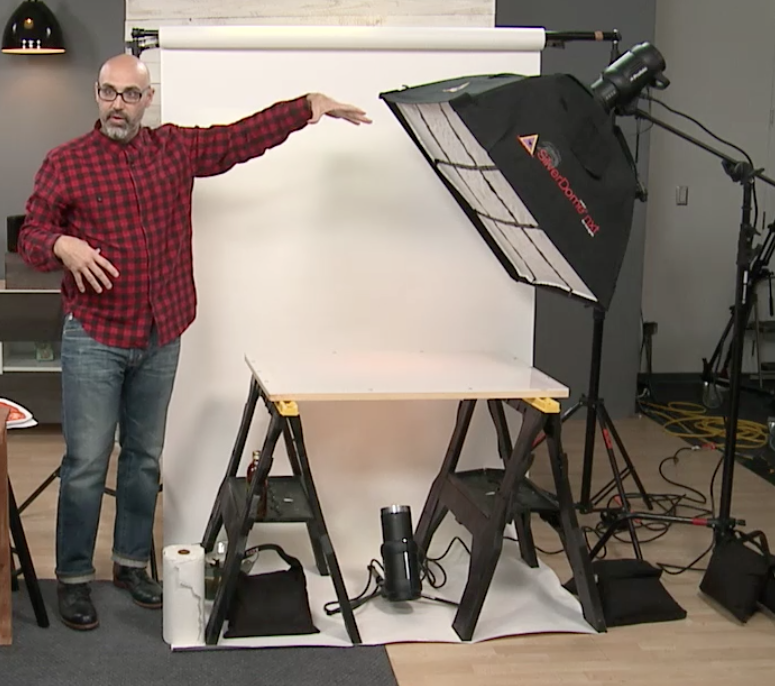
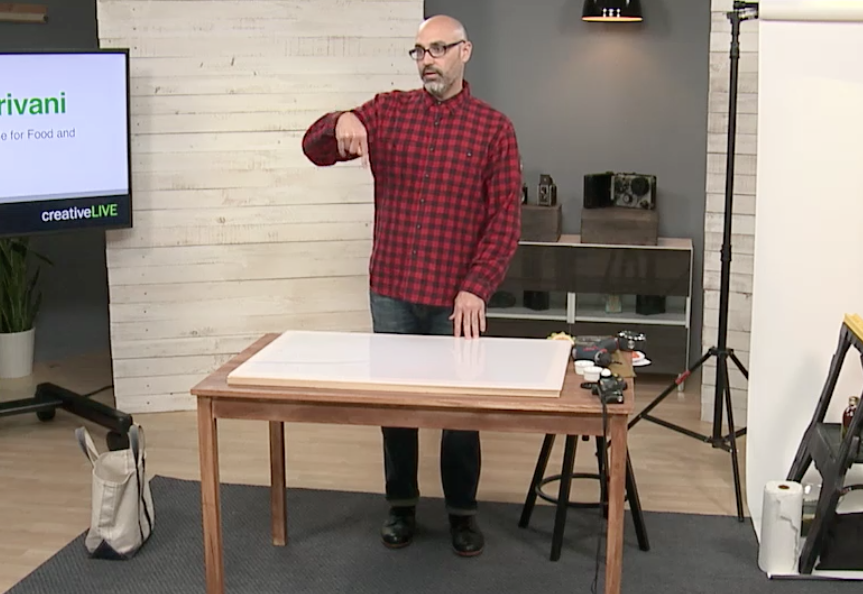
Now that your DIY light table is complete, set it up in your studio. Andrew uses sawhorses to hold his table, stabilizing it with sandbags to ensure no movement of the set. Power up your lights and strobes underneath and above the table and start shooting!